A Wide View – of a County Fair

A Wide View – of a County Fair

When visiting an agricultural fair – known commonly as a county or state fair – I generally use a hand-held camera with two interchangeable lenses covering wide-angle and telephoto.

Recently having changed my wide-angle lens, it is now a bit wider than before. It was 93º angle along the wide part of the image, but a different lens now goes to 104º angle. Some other cameras, even mobile phone cameras, can give an even wider view … if you explicitly change to the wide camera. However, switching to such wide angle requires a bit of forethought and imagination how that view might look.

As the angle of view gets really wide, some optical distortions are to be expected. The widest angle may cause straight lines to curve, commonly known as barrel distortion. If lines remain straight, parallel lines can readily appear not parallel; this is commonly called keystoning or perspective distortion. Some of these distortions can be undone digital image processing.

This first image is the original from the camera, shot with a 14mm lens. Notice that the walls of the building are neither vertical nor parallel. Expecting this shot might require some distortion correctly, I intentionally, I left a bit of room on the left and right side. The image is perhaps a bit under-exposed, but a histogram of the image shows that the shadow detail is good and only the extreme highlights (windows & door) are blown out.

In post-processing this image, you might choose to only increase the overall brightness. But I planned from the beginning to correct for the perspective distortion. The second image here shows my edits to perspective, brightness, and color. Notice the walls of the building are straight and vertical.

Here is another example where the wide angle of view results in distortion and I chose (when making the shot) to compensate in post-processing.

After:

Corn maze at the Acton Fair
Editing Photographs with Topaz Labs AI tools

Editing Photographs with Topaz Labs AI tools

Three recent examples to share, each created using AI tools from Topaz Labs. Though I have long relied upon photo tools from Topaz, the AI features are quite new, added within the past several months.

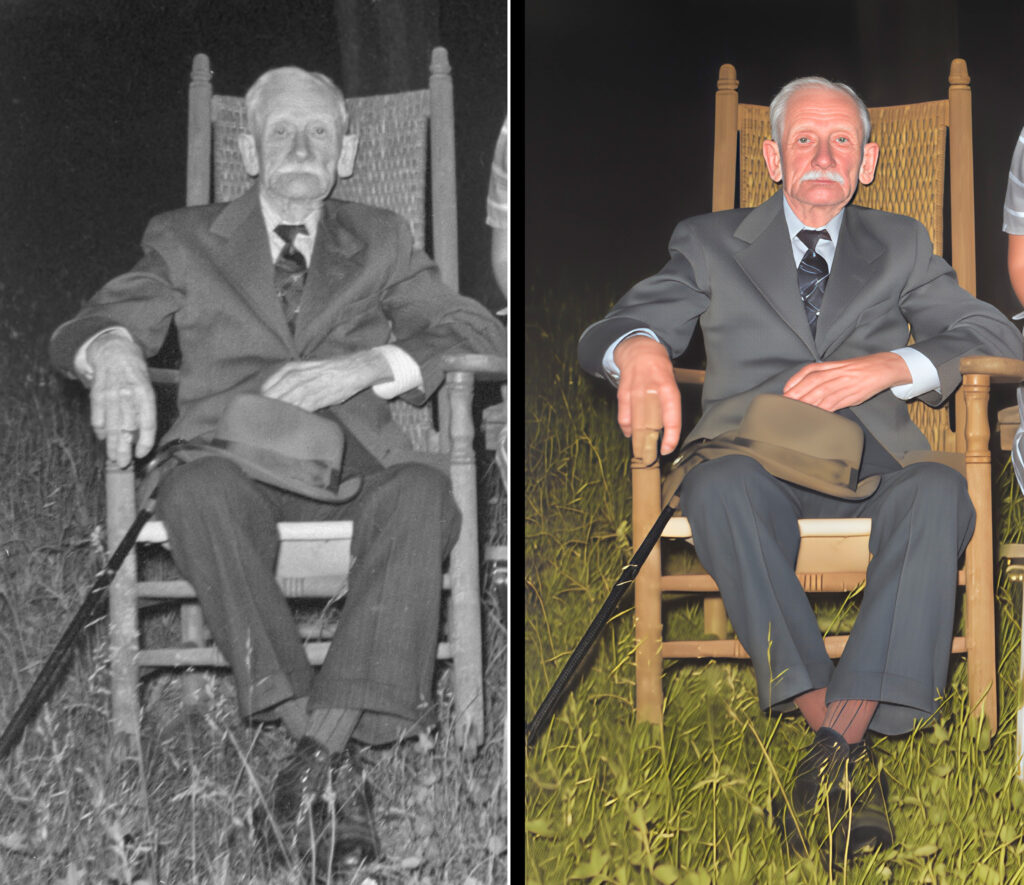
The first image here shows restore and recolor an old black & white photo. This was done using a Topaz online tool called Mosaic. Each use of the online tools requires some AI credits. Use these enough and your credits will be exhausted, requiring purchasing more credits.

In general, the result is quite impressive but there is a flaw. Look at the middle finger of the man’s right hand – the color is the same as the chair.
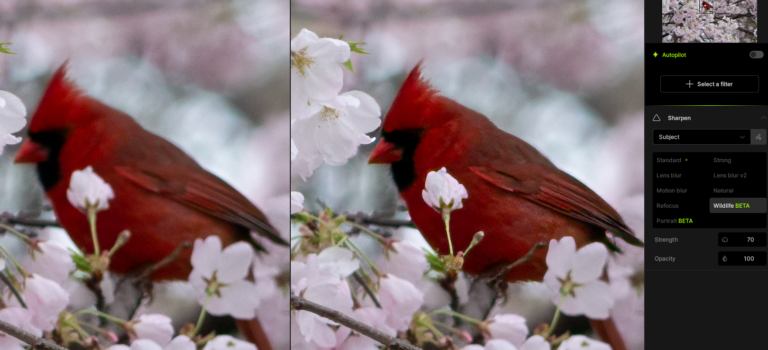
The second and third images here show two separate attempts to fix a photo of a cardinal in a cherry tree. I shot this in New York’s Central Park last spring but my camera wasn’t the best and I was too far away.

The first attempt employed Topaz Photo AI (desktop app) and a new AI model for wildlife, which is still in beta test.
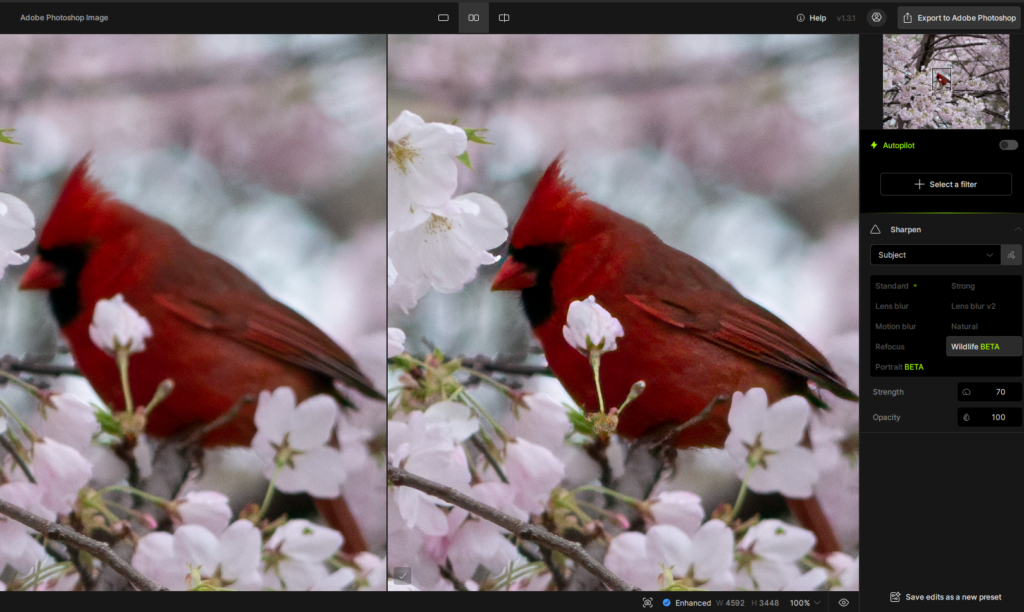
The second attempt uses Topaz Gigapixel AI (desktop app) and a new AI model called Redefine Realistic, which is still in Beta test. This model can optionally use a prompt and you can see the prompt I used (“improve details in the red bird”). Not only does the result show detail in the feathers, but now the bird has an eye. However, the bird’s beak isn’t quite right and now has a nostril.

The changes to the bird are a bit heavy-handed and Gigapixel AI did not limit its changes to only the bird; some undesirable artifacts were introduced to the flowers and in the soft out-of-focus background. This implies a bit more work in Photoshop to blend the revised bird image onto the unmodified background image. I might choose to blend some of the different results from Photo AI and Gigapixel AI.
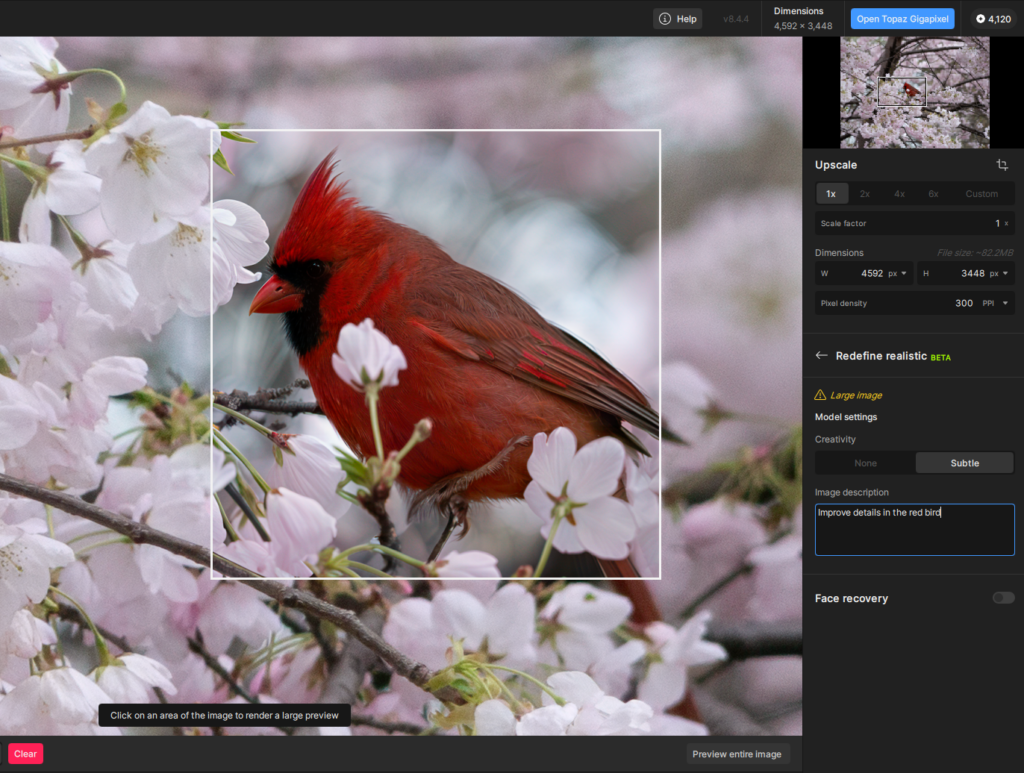
Though Gigapixel is commonly used to increase image resolution, you can see here that I did not upscale the image (Upscale = 1x).

The desktop apps (Photo Studio and Gigapixel AI) allow choosing either cloud computing or local computer resources. I chose to use my local computer, which does have a GPU. The sound of my computer suggested the GPU fans were spinning fast and Windows Task Manager told me that the GPU was running at full capacity. Using cloud computing will consume AI credits but using the local computer does not require any AI credits.
Creating Photographs for eBay

When selling online, quality photographs and video are important so that the item looks good. This month, I sold some old equipment on eBay. Most are items that are in good condition but I haven’t used in years. One item was a camera lens, a lens for Canon EF mount that I have replaced with Canon RF equivalent.

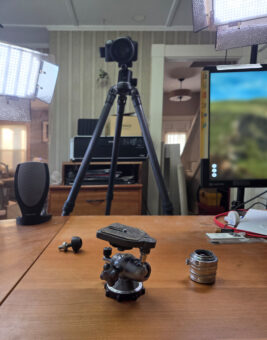
The photo here shows how I made my photos for eBay. I don’t have studio space for such photography; this is my everyday desk. I pushed my computer monitor off to the side and setup two LED lights.

If you are making photographs, not video, you might use flash/strobe lights. If you’re shooting video, then you need constant-ON lights. I use the same lights for both; not using flash. Because the light has a slight blue cast, I use a slight orange filter over the light to correct it; alternatively, color can also be corrected in post-processing.

In the specific case of this old ballhead, it has moving parts and an interested person sent me a question, asking if the movement was smooth. To answer the question, I shot a quick video and added it to the auction listing. (Video is not always necessary, but it can be.) As I need to have hands on the item I was demonstrating, that means I can’t have hands on the camera; either the camera needs to be on a support (tripod) or enlist the help of someone nearby.

Before uploading images to eBay, I intentionally resize them according to eBay guidelines. If I understood correctly, eBay recommends that the longer edge of the image should be 1600 pixels. Video can be up to 1080p, but I resized my video as 720p.

Having sold a few items … I used that money to buy another lens. (I’m not earning money by selling a few things online.) Buying used photography gear online can be a bit more challenging than selling.

Photo Editing: Remove a Telephone Pole

After editing in Photoshop

A common problem in outdoor photography : unwanted obstacles. Digitally removing the object can be easy or very difficult.

If the object obscures a plain background such as blue sky or beach sand, then computer software can easily fill-in any space that is vacant when deleting the unwanted object. If the object obscures something more complex such as a person’s face, there is no way to recreate what the camera never captured. While this is surely changing with today’s advances in generative AI, there will always be limitations.

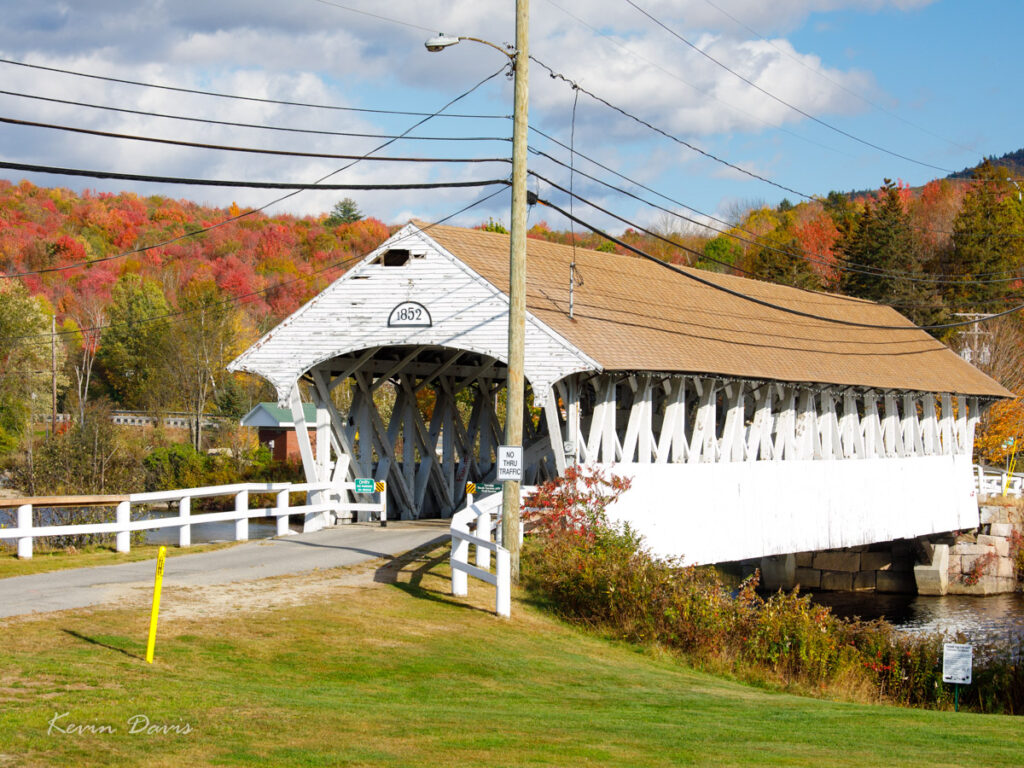
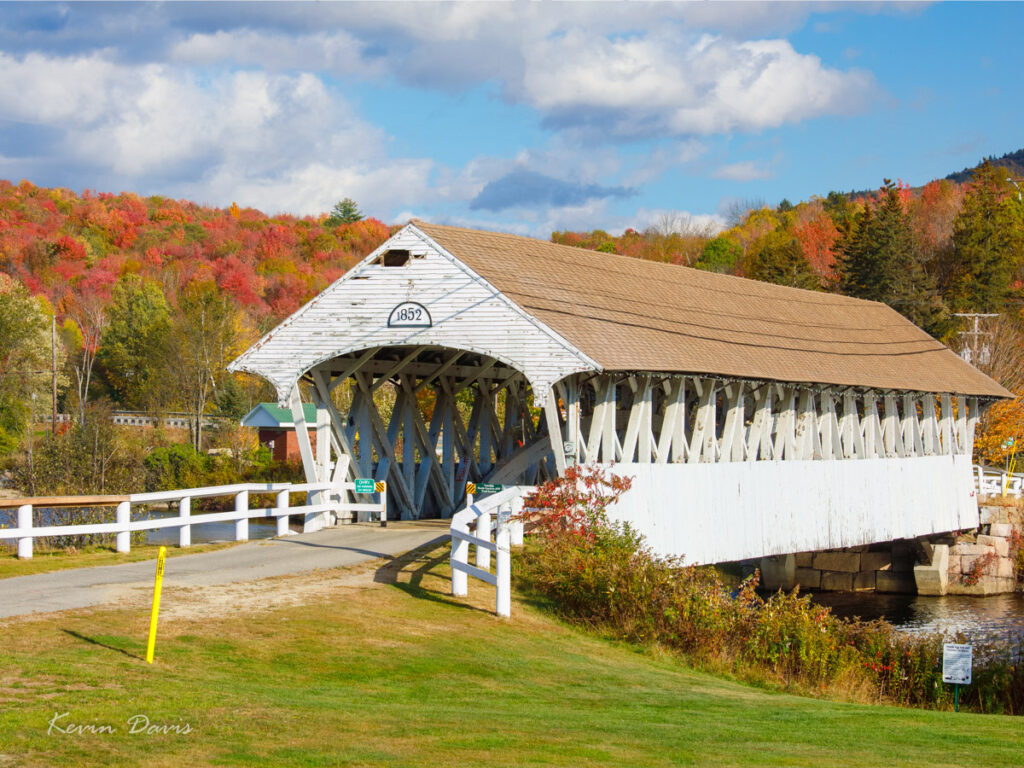
In this image of the Groveton covered bridge, removing the yellow marker post would not be difficlut. The real problem is a telephone/utility pole that stands near the front of the bridge; see the unmodified photo below.

The technique that solves this problem is to capture two images. After taking the first photo, take a few steps to one side and make the second photo. That second capture reveals what was hidden behind the pole in the first capture. In post-processing, I removed the pole and then used pieces of the second image to fill in the blank.

Original photo – Before editing

Of course there are still many wires and shadows of wires across the image. Removing those can be easy against a clear blue sky but becomes more difficult across varying clouds, trees, and the shingle roof. I expect generative AI can make this task much easier … and better. If you look closely at the edited image, you may find a few breaks in cable shadows that I have not yet remedied. AI could potentially figure out the pattern of the roof shingles and extend the pattern, completely fixing the shadow breaks.

Flowering Trees at a Cemetary

I love the season of flowering trees; sadly, in the northeast, the season only lasts maybe six weeks.

Ornamental flowering trees are commonly planted in many different spaces ranging from residential gardens to corporate office parks. One category that commonly hosts plantings of beautiful trees is cemeteries. While it may seem odd to some people, I’ve seen people of all sorts and ages strolling through cemeteries, even having a picnic. Last weekend, I visited a cemetery in Wakefield. Although the crabapple trees had all dropped their colorful petals, I counted more than two dozen dogwood trees in bloom.

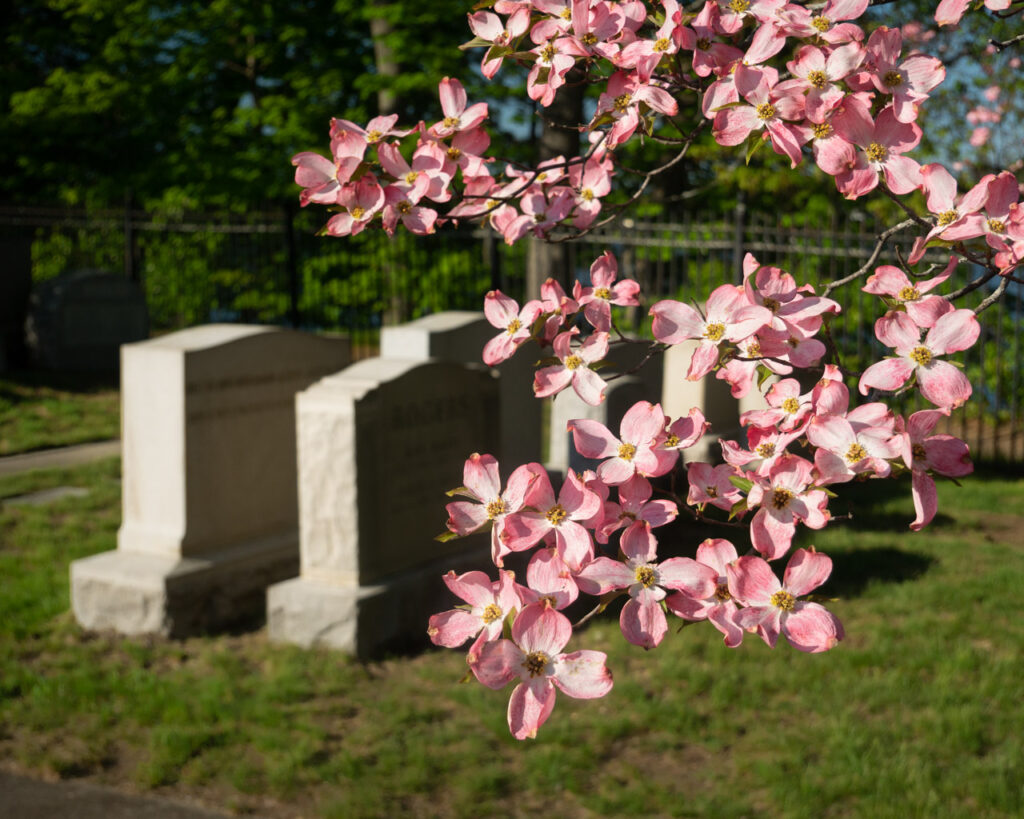
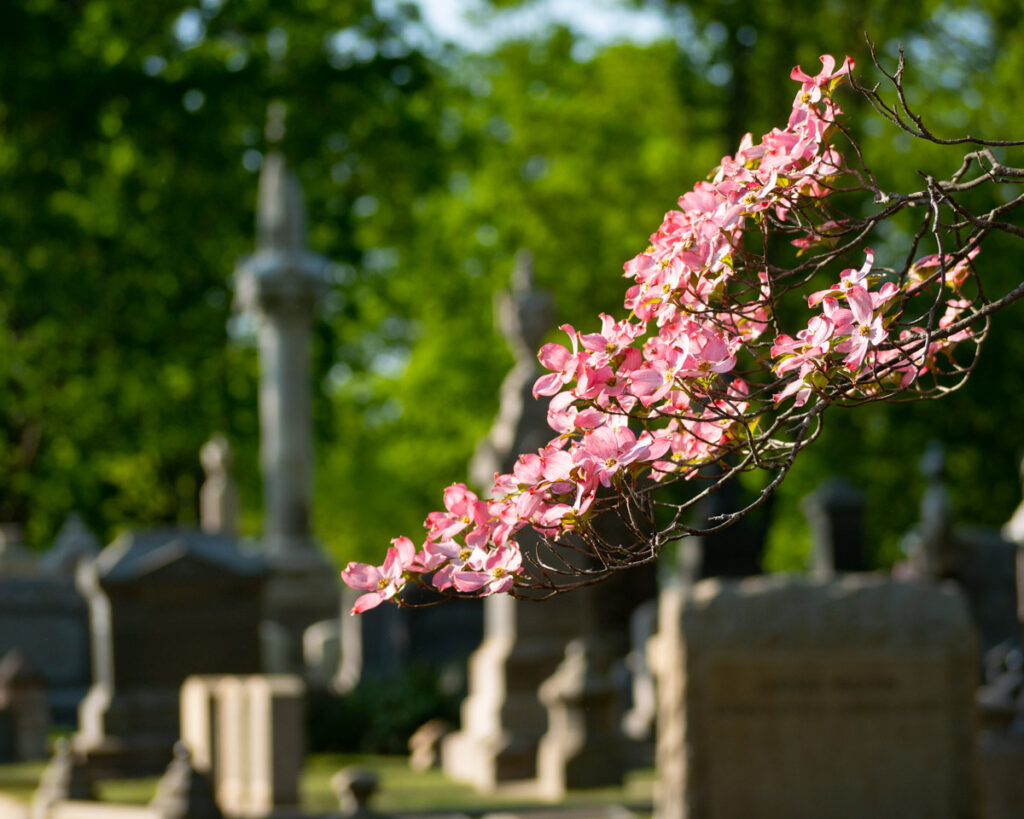
From that short excursion, I wanted to share a comparison of two images of the same tree but photographed with wide-angle lens and a telephoto lens. There are a few reasons why you might choose to use one or the other. When in doubt, shoot them both.

The first reason you might choose a telephoto lens is because you can’t get close enough to your subject. I personally encountered that scenario a couple weeks ago, stopping to photograph cherry trees in bloom at a cemetery where the gates were locked. I photographed from outside the fence using a 100mm lens.

The second reason you might choose to use a telephoto lens is to control the background. The narrow field of view may enable you to exclude elements from the background. And a wide-angle lens can include more background, for more environmental context. In the two photos I’ve shared here, both the telephoto and the wide-angle image do show the environment context, but a telephoto also allowed me to exclude the tombstones entirely.

A third reason to choose either telephoto or wide-angle is depth perception. Wide-angle lenses commonly exaggerate distance; multiple subjects in the photograph appear to be farther apart, compared to using a longer/telephoto focal length. Conversely, telephoto lenses tend to compress distance, making multiple subjects (at different distances from the camera) appear closer together.

Lastly, when you have multiple subjects at very different distances, a telephoto lens combined with a small aperture may allow blurring the background – if that’s the effect you’re seeking to create. Both the images here employ an aperture about f\4.5.

HDR photography (High Dynamic Range)

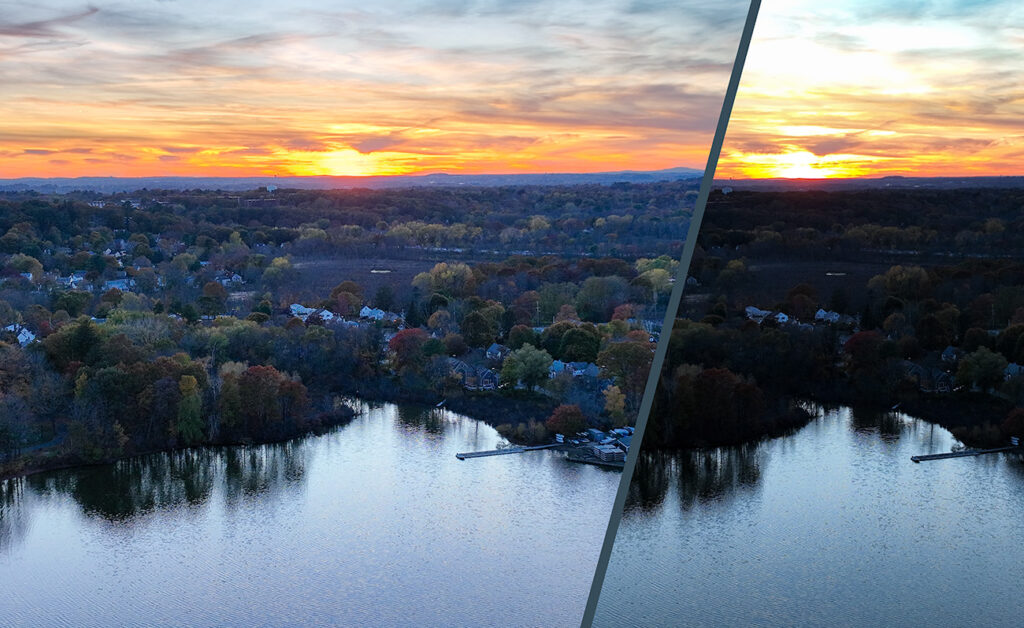
A camera’s image sensor has one job – to record light. However, sensors generally can only capture a limited range of light from shadows to highlights. When the actual range exceeds the sensor’s ability, that’s “high dynamic range” or HDR.

Here are two recent examples where the range of light exceeded my camera sensor’s ability. The first is a sunset. No surprise – the highlights are super bright. The second example is less obvious – the surface of a lake reflects blue sky in some areas and elsewhere the light simply falls off to black.

The solution is the same. Capture multiple exposures and then combine them together as a matter of post-processing. Many cameras have this post-processing and a built-in option. Even my smartphone camera includes that feature. The results may be disappointing. My own experience with camera built-in HDR processing is 50/50 at best. The end result is so commonly disappointing that I routinely don’t trust the camera to do it. Instead, I do HDR post-processing using software in a desktop computer.

This technique generally requires that the camera doesn’t move when capturing the separate exposures. The composition of the two captures is exactly the same. If the camera moves slightly, that is commonly not a problem because the two can be aligned during post.

This technique doesn’t work with video. When shooting video, the camera angle usually changes during the shoot; to shoot the scene a second time will result in a different video composition. Two captures will never align. For video, the solution to HDR is different – capture the shot just once but use a special camera mode that is very low-contrast, often referred to as DLog. Straight out of the camera, that shot looks truly awful. It must be post-processed, expanding the contrast range to something that appears correct.

Telescopic Pole Camera

Telescopic Pole Camera

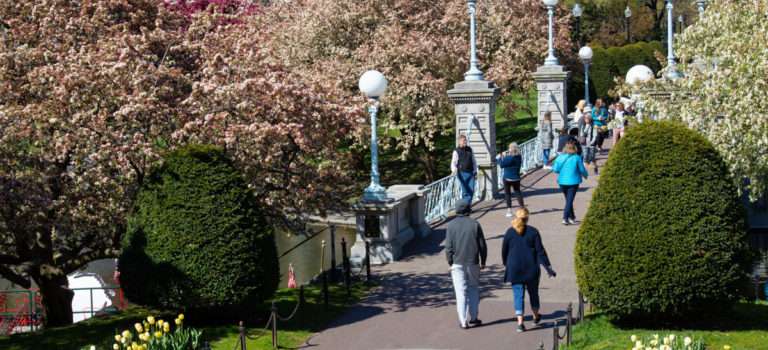
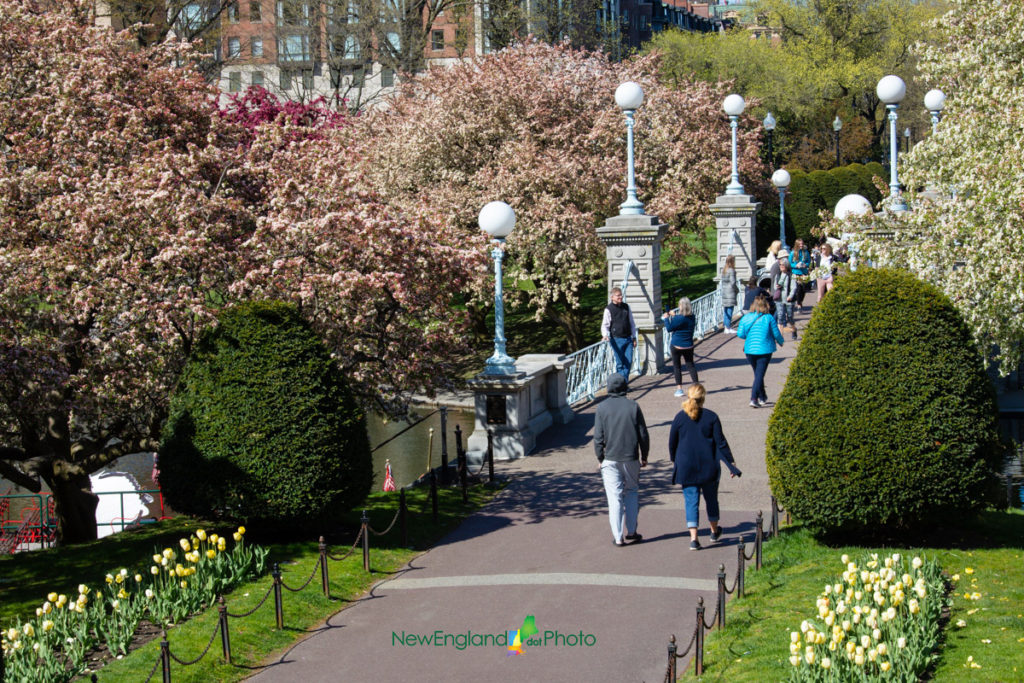
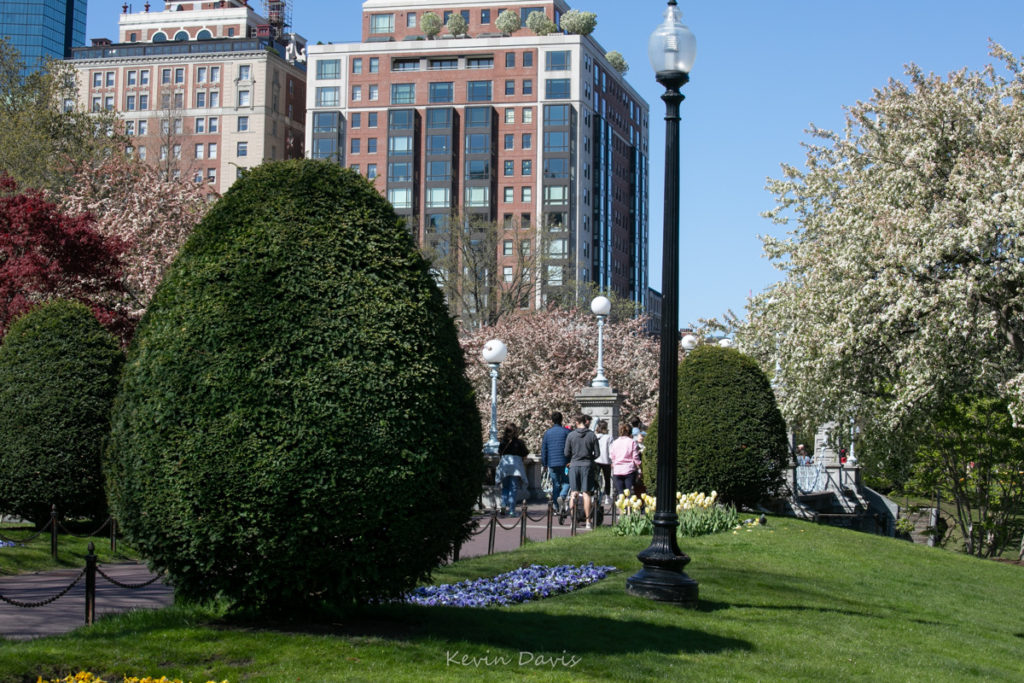
This photo was carefully planned, for the time of year (trees are in bloom), the location, and a somewhat unusual downward angle. The human experience here (Boston Public Garden) includes sky and nearby skyscrapers. I chose to eliminate the sky and skyscrapers through use of a high camera position looking down. However, elevating the camera can be a difficult problem if there is nothing to stand upon.

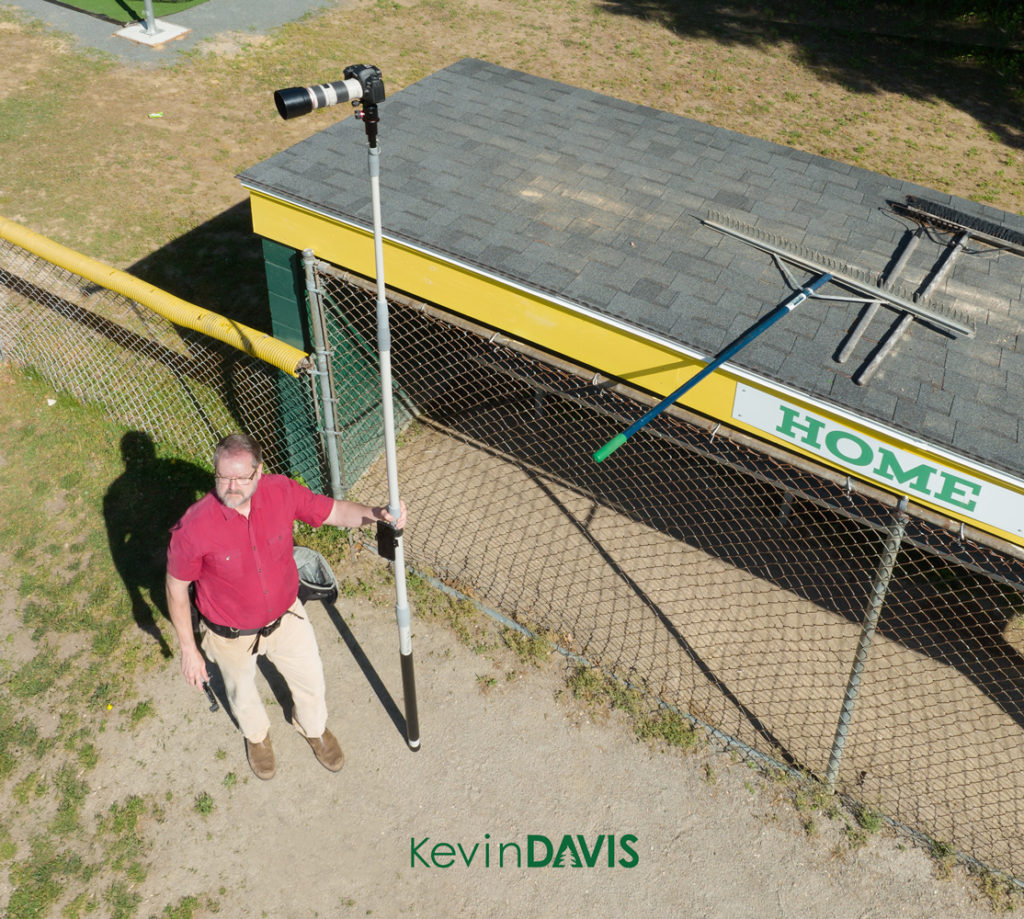
One of my favorite photographic tools is a telescoping pole with a camera mount at the top.  Combined with a camera equipped with wi-fi, the camera can be raised up to 20 feet and operated from a mobile  app on a smartphone.

A telescoping pole is often the best choice for a camera height of ten to twenty feet.  To photograph from a height of forty feet or two hundred feet, I can use a small aerial drone. While a drone can be used at altitudes of fifteen or twenty feet, that could readily be a distraction and a nuisance to people who are trying to enjoy the park. 

On multiple occasions my photographic intentions have been thwarted by the presence of utility wires strung upon poles.  While I could have flown an aerial drone above the wires, I instead chose to use a telescopic pole and place the camera twelve to eighteen inches below the wires.  Personally, I don’t want to fly a drone that close to wires. Unlike a drone camera, a pole-mounted camera can’t move suddenly and potentially collide with wires.

For comparison’s sake, I shot the same scene with the camera at eye-level.  The location I chose for my photo was occupied by a nine-foot-tall shrub.  The pole-mounted camera enabled shooting over the top of this shrub in the foreground.

Re-processing Photos for T-shirts & Coffee Mugs

Re-processing Photos for T-shirts & Coffee Mugs


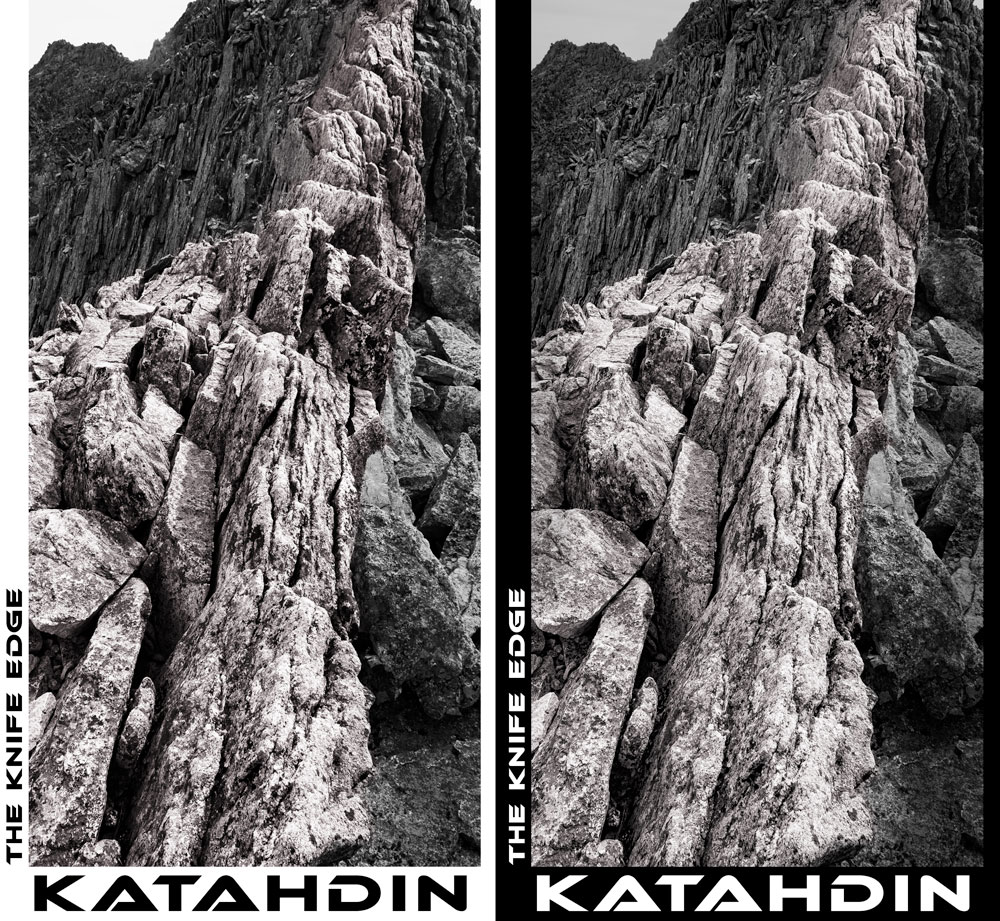
Recently I have been working through my photography catalog for the purposes of overhauling my website. At the same time, I’ve been recognizing that some images can be repurposed for graphic t-shirts and coffee mugs.  My latest design is shown here; the left version is intended to be printed on light backgrounds and the right version is intended to be printed on dark backgrounds.

My products at Redbubble:  https://www.redbubble.com/people/kevinheaven

For this particular work, I used Adobe Photoshop and multiple plugins by Topaz Labs.  To adjust the color palette and to enhance the details, I commonly use Topaz Adjust and Topaz Detail.

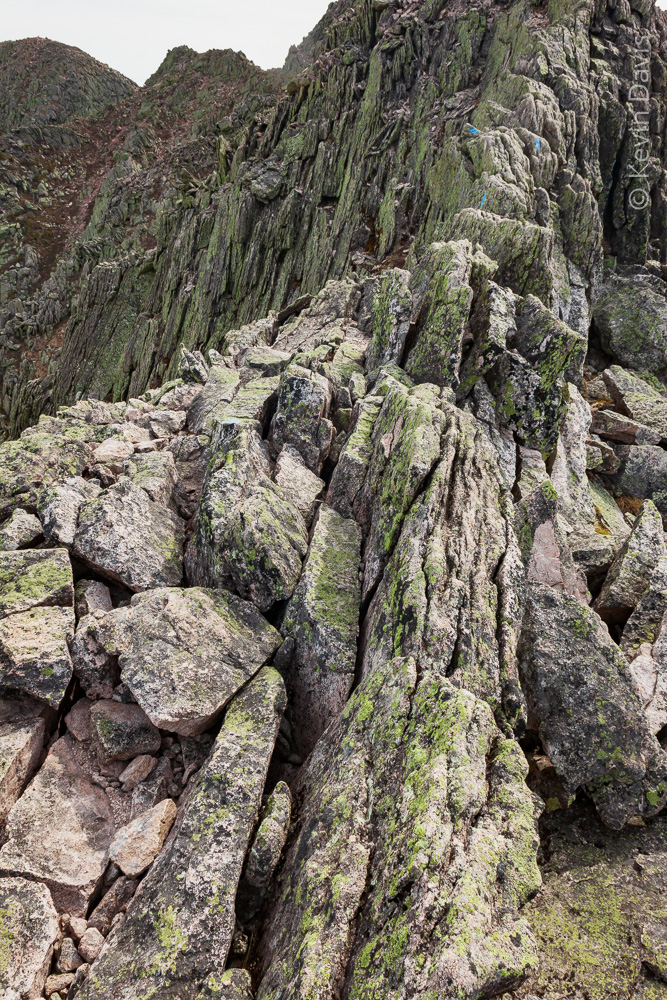
Here’s the original digital photo from ten years ago.  This was probably the first time I had ever taken a digital SLR on a backpacking trip. Because I had not yet learned the features of this camera, I neglected one of the most remarkable features of the Canon 5D mark II … the first DSLR camera capable of 1080p high-def video. To this day, I regret that I did not capture any video in this remote unique landscape.

If you look closely (click on the image to see a larger view) toward the top right of the image, you will see blue blazes painted on the rocks; these blazes mark the hiking trail … a very narrow trail with a potentially nasty drop-off.

Outdoor Photography – chasing mother nature

Outdoor Photography – chasing mother nature

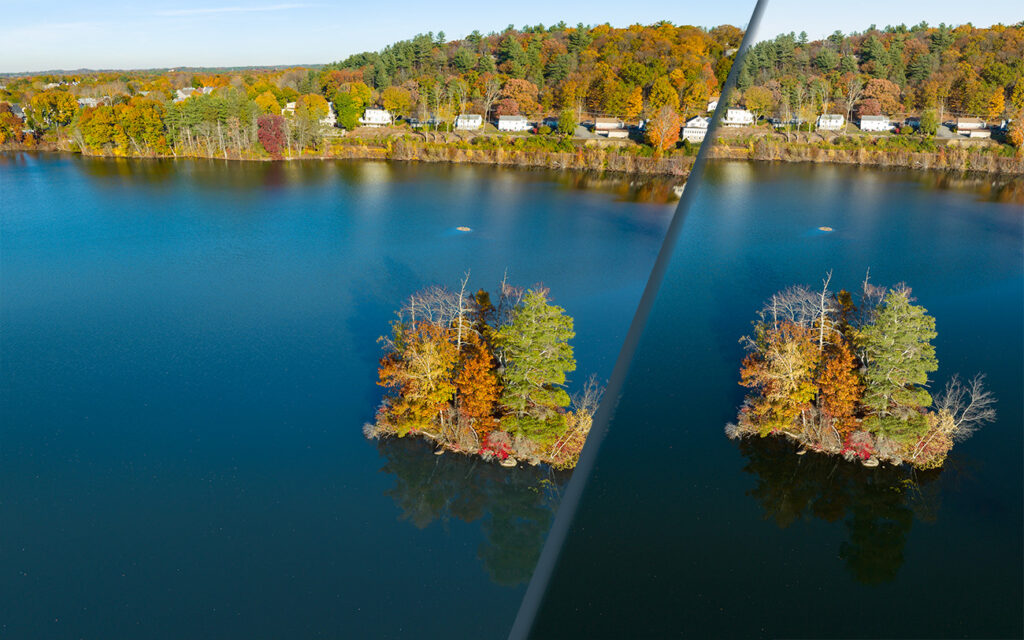
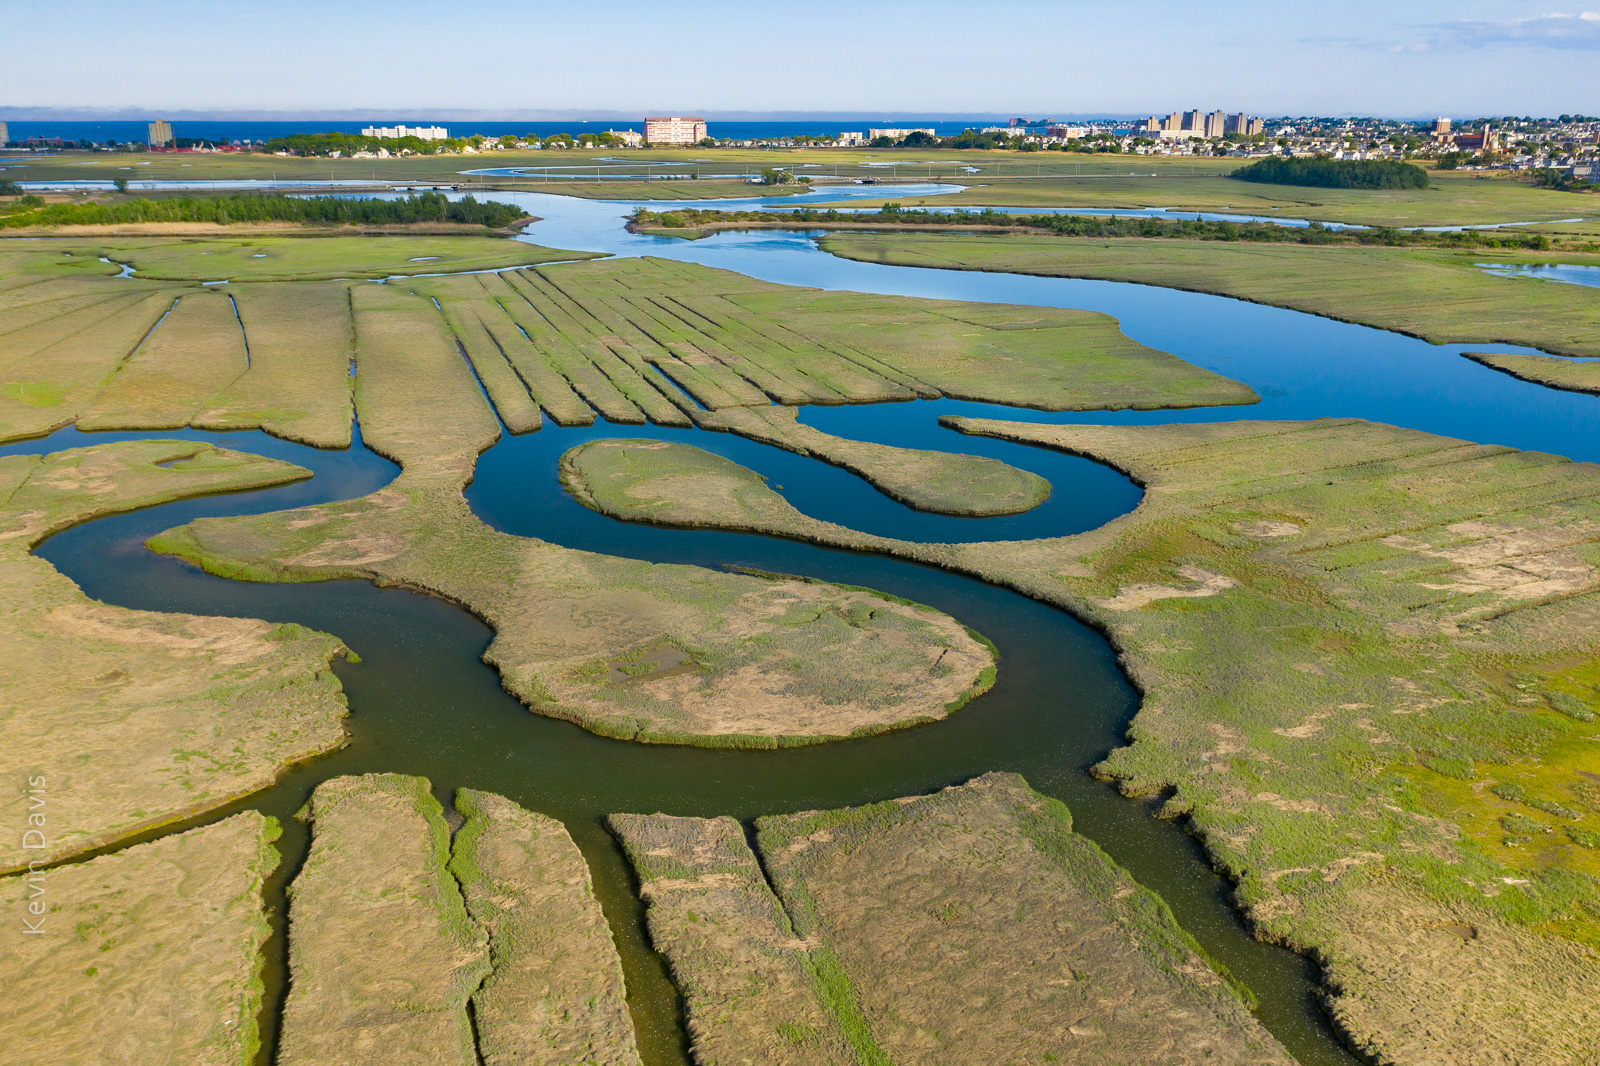
Rumney Marsh photographed with an aerial drone (sUAS)

I first visited Rumney Marsh in the month of May.  Although I discovered some great photo compositions, the marsh was mostly brown.  Presuming that the grasses would fully transform the landscape into a greener palate, I vaguely planned to return some weeks later. Shown here below is my first image from the May visit:

Rumney Marsh in the month of May

.

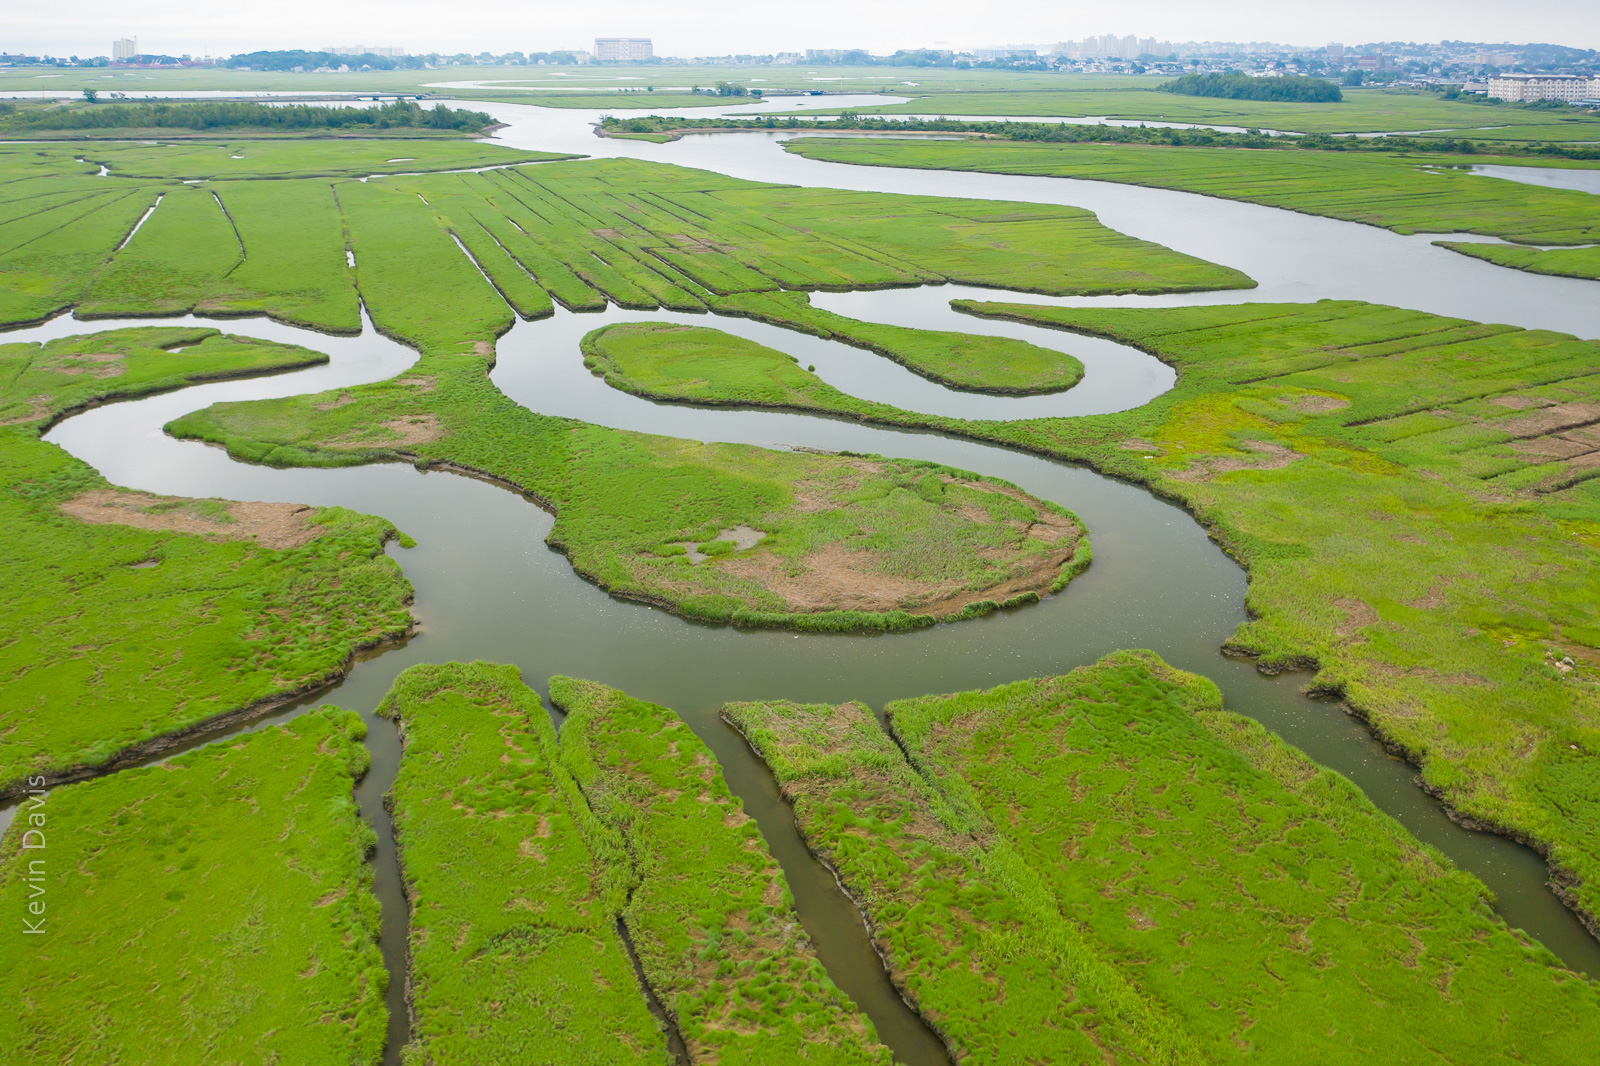
This year, spring in New England has featured more rain than normal. Dry days are a bit like currency – have to spend them judiciously.  Five or six weeks later I returned to the marsh on a dry day and found the green grasses covered the land, as expected. Unexpectedly, coastal clouds were lingering and the water reflected white sky (not blue sky).

Rumney Marsh (June) under cloudy skies

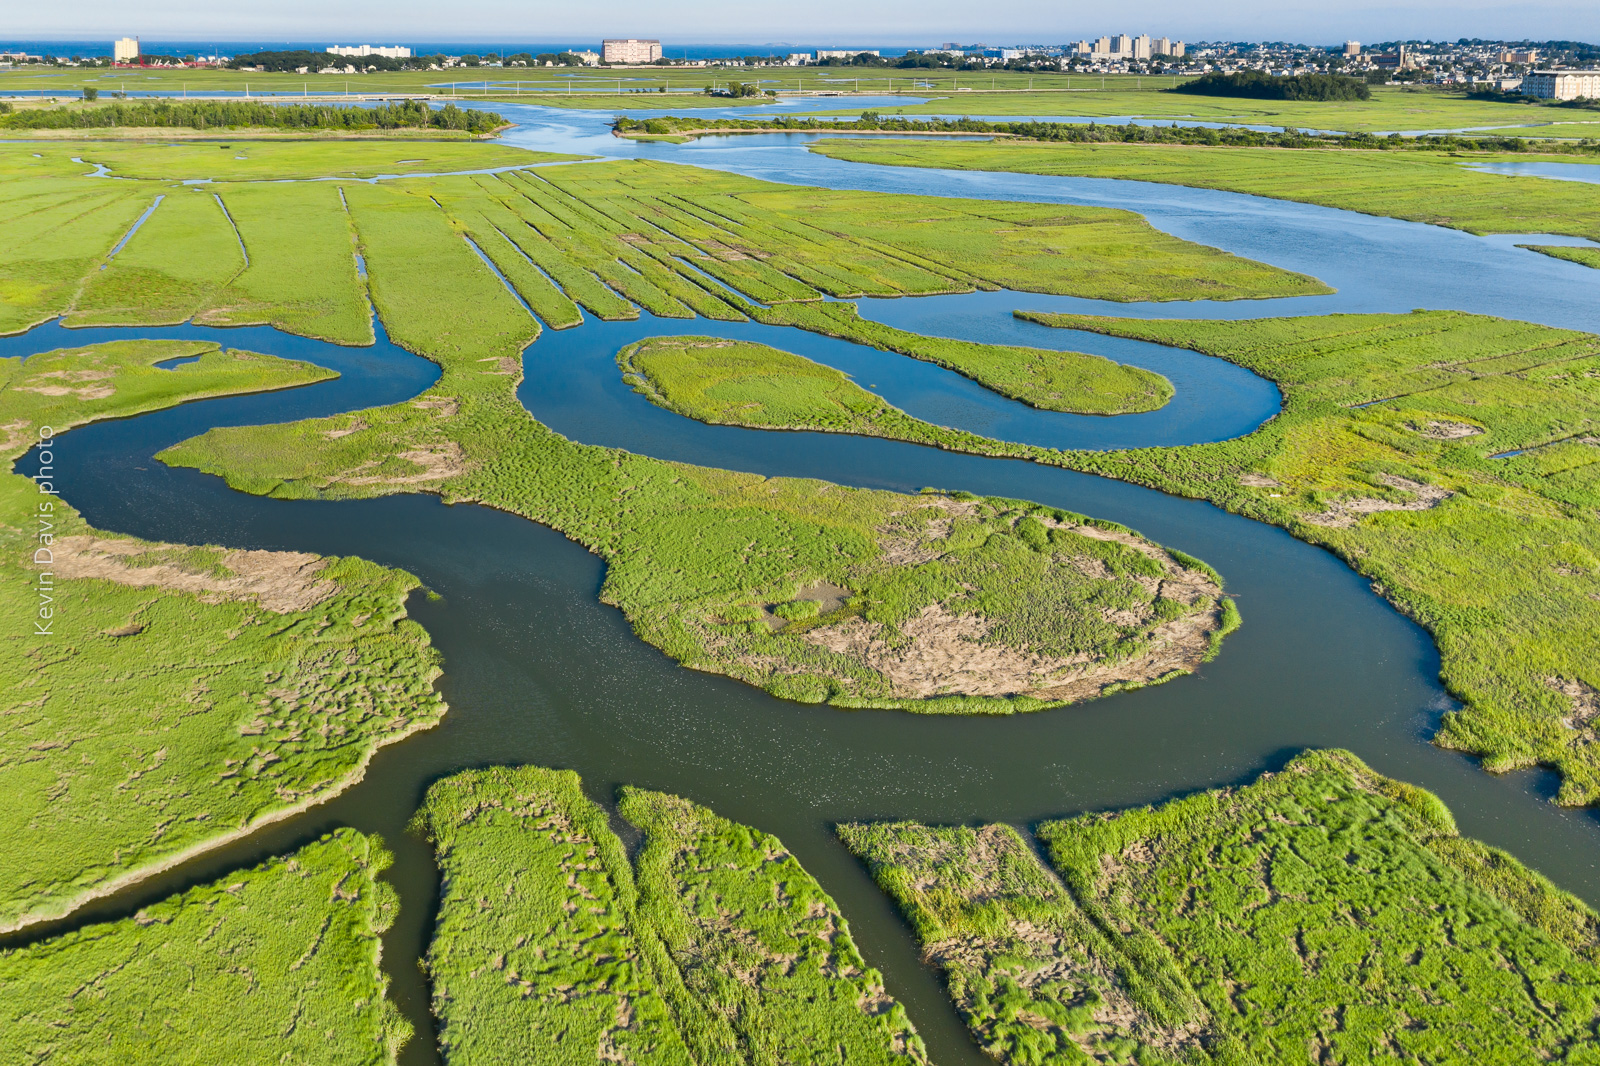
While that is a nice image, … I had imagined the water reflecting a blue sky. So, I returned later that same day after the clouds cleared away. That final image is shown at the top of this article.

In all three instances, the image required post-processing for HDR, particularly because the buildings on the horizon were too bright. So each of these three instances is a combination of multiple exposures, simply to control the dynamic range of light.

Photography – Knowing Where To Stand

Photography – Knowing Where To Stand

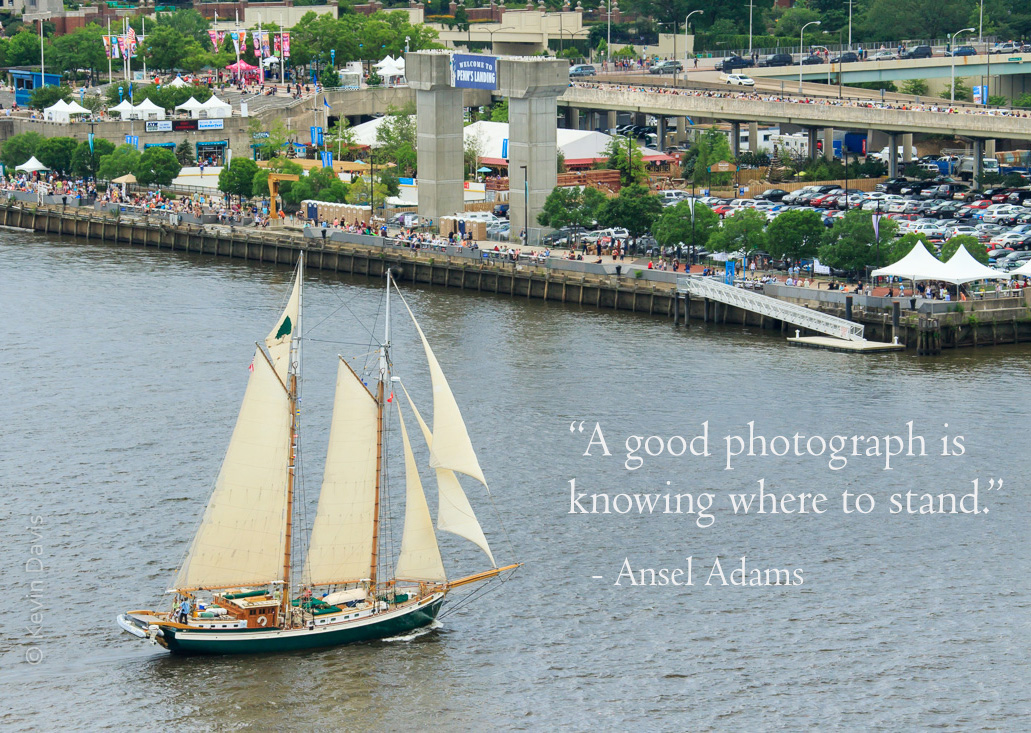
Schooner on the Delaware River, Phliadelphia PA


In this particular case, standing on a tall bridge (with pedestrian walkway) provided a spectacular view.

Where to stand?  I do ponder this question in advance whenever possible. But sometimes I don’t have detailed information in advance.   If I recall correctly, on the day of this parade of sail, I did not know precisely where the ships would be sailing and realized the potential of the bridge only that morning when I arrived at the waterfront.

The question of where to stand sometimes involves the location of the sun.  In the morning, sunlight will be coming from the east or southeast.  Later in the day, it comes from west or southwest.  That can be extremely important if my photographic expectations are front-light, back-light, or side-light.

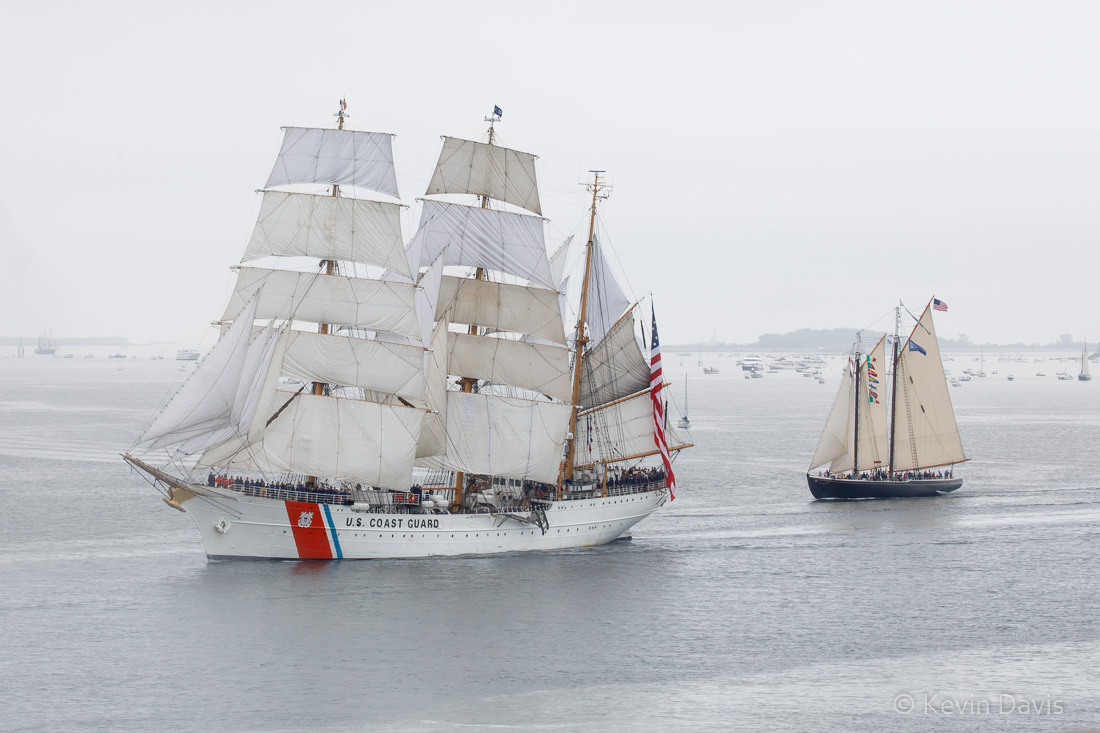
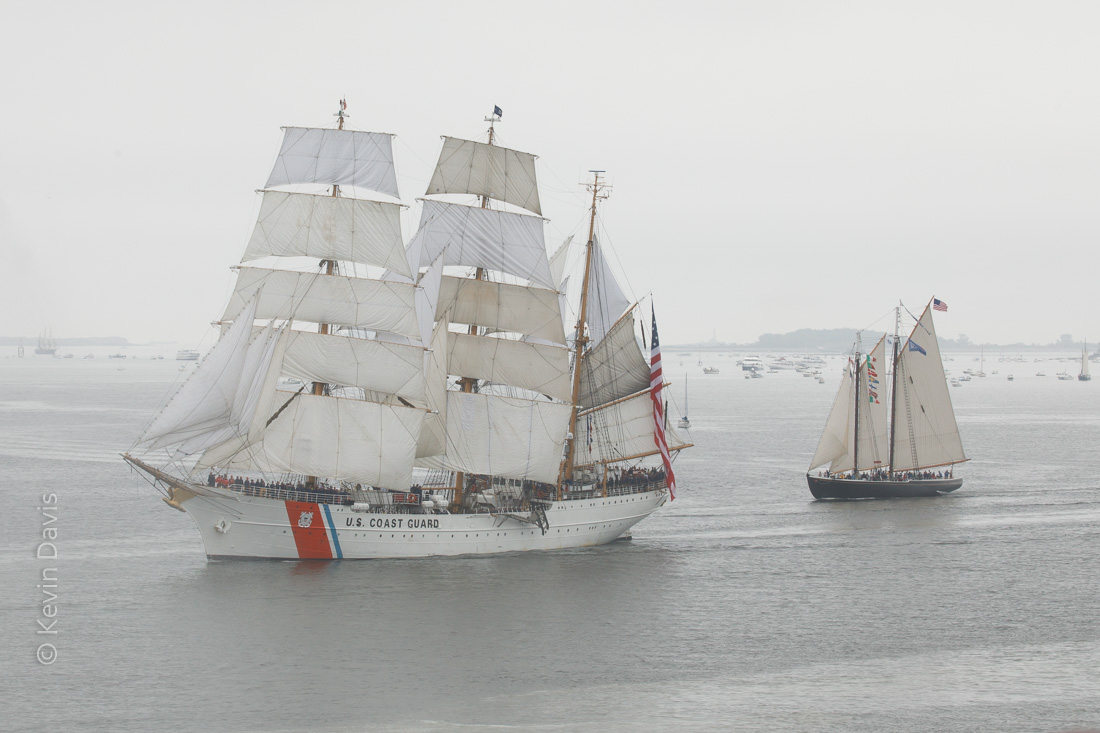
A staged event, such as a parade of sail, will generally have a fixed start time that is outside of my control.  In that case, perhaps the biggest question is whether to stand on the left bank or the right bank.  For a recent Sail Boston event, I knew that the ships would be sailing into Boston Harbor through a channel between East Boston and South Boston; I had to choose one location, as travelling between the different locations was impractical.