Light Sources for Photography

Light Sources for Photography

In a recent on-line discussion, someone offered a very confused (wrong) explanation of electronic flash options for photographic lighting.   To straighten out the confusion, here’s a very brief overview of light sources for photography.

Light sources that strobe/flash

  1. Studio strobe : Generally requires power from an AC wall-outlet
    More power (more than batteries) enables more light and shorter recycle time.
    Most studio strobes include a modeling light, which is a low-power continuous light that helps a photographer setup the light.
  2. Monolight (a.k.a monoblock) : Self-contained studio strobe (does not have an external power pack).  Some have an option to operate from battery.
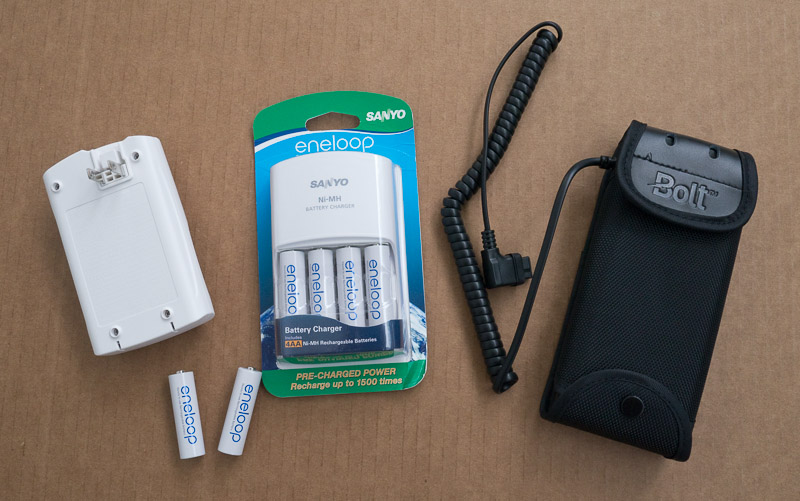
  3. Speedlight : a small battery-powered strobe with hot shoe; can be used on or off camera
  4. Small strobe like a Speedlight but without hot shoe … is there a term for that?
  5. Camera built-in flash

Light sources that do Not strobe/flash

  1. Natural light, a.k.a. available light, ambient light … light not supplied by the photographer.
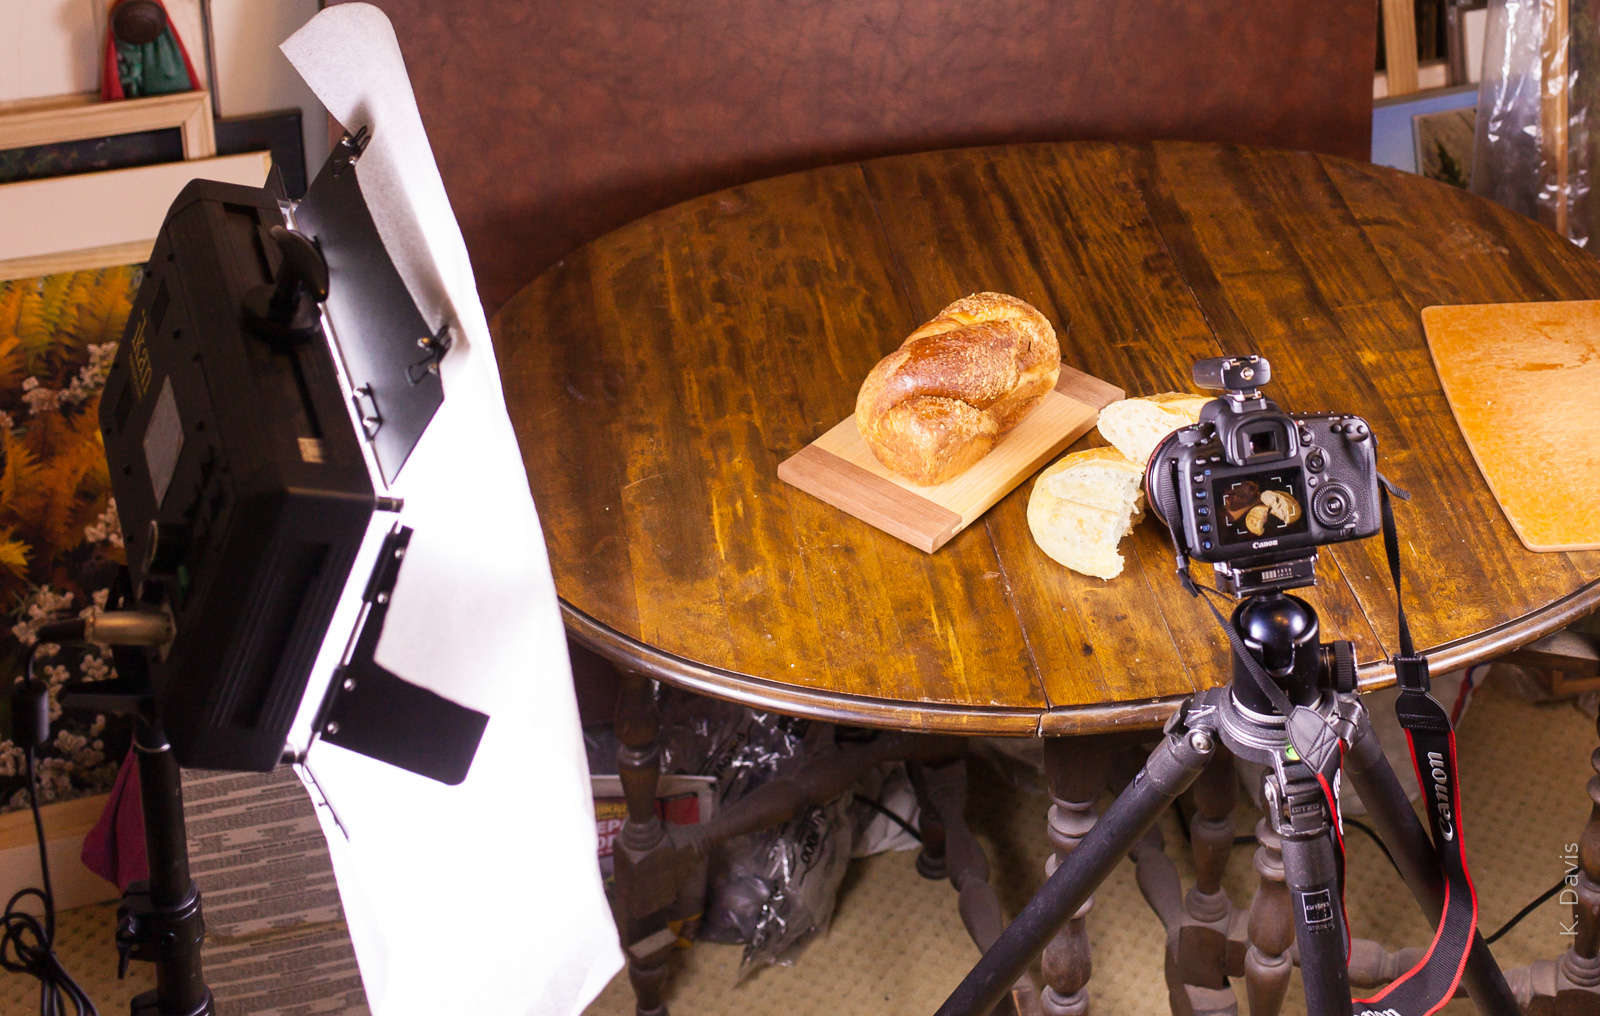
  2. Continuous light (a.k.a. video light) … is a light source that does not strobe/flash.
    Absolutely necessary for video applications, but can also be useful for still photography.
  3. Hot light … a “continuous light” that generates much heat.
    Tungsten and HMI (a.k.a. arc light) are examples of hot light technologies.
    LED is an example of continuous light technology that is Not hot.
  4. Flashlight / Light painting … this is a bit obscure, but some photographers have used a simple hand-held flashlight to “paint” light onto a subject during a very long exposure.

Light modifiers

Umbrella (There are reflective umbrellas and shoot-through umbrellas.)
Soft box
Beauty dish
etc.

External Battery for Camera Flash Performance

An electronic flash strobe, powered by AA batteries, will slow down sooner than you or I expect.  Recycle time, the time from one flash to the next, will become longer as power is drained from the batteries.  (And if you use rechargeable batteries, those usually do not hold out quite as long as standard alkaline batteries.)  How can we prolong optimum power for a flash? The short answer is: a better power source.

If you’re using a flash that’s built-in to your camera, then you are probably stuck.  The only thing you can do is carry an extra supply of charged batteries and change the battery more frequently. The good news is you may be able to use a more powerful external flash, even though your camera already has a built-in flash. But to answer that for your particular camera, you have to check the owner’s manual.

If you’re using an external flash, powered by standard AA batteries, many flash strobes will allow you to use an alternate power source, instead of the the battery compartment built in to the strobe.  There are a variety of possibilities and some can have a price tag much greater than the strobe.

External battery pack for Canon flash


Typically, I am using a Canon 580EX2 strobe, which has a power socket allowing for an external power source. Canon sells an external battery pack CP-E4, which holds 8 AA batteries, twice as many as the built-in battery compartment of the 580EX2. However, with a retail price tag around $150, the CP-E4 seems over-priced.  Seriously, it is a simple battery holder, no fancy electronics involved.

Thankfully, there are less-expensive 3rd-party equivalents. If you use one of these, it likely invalidates your Canon warranty and Canon will not guarantee that their products will function with a non-Canon battery pack. The 580EX2 instruction manual states: “If non-Canon, external power pack is used, it may cause malfunction.”  Does that scare you?  It shouldn’t.  Canon is simply protecting themselves from liability if you happen to connect a defective power supply.

I’ve been using a Bolt CBP-C1 battery pack; like the Canon battery pack, the Bolt holds 8 AA batteries, but the price tag is half that of the Canon.  It has proved to be durable and reliable for photographing sports, weddings, and stage performances.  I have been using rechargable Sanyo Eneloop batteries (NiMH).  Using just one set of batteries, I have not yet run out of power during any shoot.

One little trick to be aware of regarding the use of an external battery pack with the Canon 580EX2 strobe. When an external battery pack is connected, the strobe may rely in-part upon the external batteries and in-part upon batteries installed directly in the flash.  If you have particularly weak batteries installed directly in the flash, the flash may fail when those batteries fail.  You can change this. Among the cryptic custom function settings, you will find custom function 12.  Set custom function 12 equal to 1 (on) and the flash will exclusively use the external battery pack.

Photographing a live drama performance

In the past, I have photographed drama productions using high-speed 35mm film. The results were prone to a great deal of grain and visual noise. Last week, I shot a drama production using the Canon 5D mk II DSLR and the results far exceed anything I could do with film.

During the actual performance I used ISO 12800 with no flash. During dress rehearsal, I had freedom to use electronic flash and shoot from different angles not possible during the live performance. I setup a remote flash bounced off of a 36″ reflector; this provides a larger and softer light source. Because the flash was being bounced off a reflector, I configured the flash for higher intensity output than normal/default.

The images shown here provide comparison of shooting with flash and without. The primary light source is always the spotlight. The flash provides fill-light in the shadow areas.

Notice the shadows cast on the wall. Both the spotlight and the flash create shadows. (Here, the shadow from the spotlight appears low on the wall because the spotlight is mounted near the ceiling, probably eighteen feet above the floor.) The shadow from the flash has a soft edge while the shadow from the spotlight has a hard edge. This difference is due to the differing sizes of the two light sources. The bounce flash is giving me a light source 36 inches in diameter at a distance of 25 to 40 feet. The Spotlight is maybe 10 inches in diameter at a distance of 25 feet. Both size and distance of a light source directly effect the hardness/softness of the light.

Neither approach is better than the other. Sometimes you want hard light. Sometimes you want soft light. It can be nice to have both.

Wedding shoot

Having been making photographs for many years, most of my work has relied upon available light. However, in photographing a wedding yesterday, I employed some artificial lighting techniques.

I rented a PocketWizard remote flash setup and also a better flash than what I own, both from LensProToGo. Unfortunately, testing the equipment the evening before the wedding, the PocketWizard transmitter failed. While this is certainly not as bad as discovering a failure an hour before a shoot, it was stressful none the less. Fortunately, I was able to make a long detour on my way to the wedding and pickup a replacement from LensProToGo. The moral of that story is: make sure to get rental equipment in your hands (and test it) a few days in advance of your shoot; if there is any problem, your supplier has time to ship you a replacement

During the actual wedding ceremony, I relied upon available light. After the ceremony, with more time and freedom of place, we staged some photographs with the bride, groom, wedding party and parents. For these staged shots, I primarily chose electronic flash bounced off a reflective panel. A small light source (e.g. flash pointed directly at your subject) can be harsh with specular highlights and hard-edged shadows; the reflective panel creates a larger light source, which creates for a more gentle light, reducing specular highlights and softening shadow edges. Having the flash on a remote stand allowed me to change my camera position without needing to move the reflector.

It was a very lonnng and tiring day. Late at night, reviewing the images on the camera LCD, there were definitey some issues, but I was most concerned with apparent bluriness. However, the images looked much better once I got them onto a desktop computer display.

For information on wedding photography, I recommend the training videos by David Ziser at KelbyTraining.com. KelbyTraining allows anyone to sample the first few video chapters for free; subscribe as a member to see all chapters.