Although the Mavic 3 includes some groundbreaking new features, many reviewers will render their opinions about such things and I will not do so here. I am only analyzing the photo quality from Mavic 3 with comparison to the predecessor Mavic 2 Pro.
Mavic 3 includes two cameras. I am comparing the main camera to the camera of Mavic 2 Pro. The Mavic 3 main camera has a fixed-focal-length lens, 4/3 image sensor, and variable aperture.
The Mavic 3 supports capturing photos in either JPEG format or JPEG & RAW. While I almost always capture photos in RAW format and I do not need a JPEG, the initial release of MAVIC 3 will always save a JPEG. That could possibly change in a future firmware update.
See the end of this post for a link to my 2018 comparison of Mavic 2 Pro image quality, compared to original Mavic Pro.
The main camera of Mavic 3 uses a 4/3 image sensor; this has implications.
- The image rectangle has an aspect ratio of 4:3, which is same as Mavic 2 Zoom but is different than Mavic 2 Pro and Mavic Air. For me personally, this implies that I must crop each image and discard some pixels to obtain a final image of 3:2 aspect ratio.
- Four-thirds and Micro Four Thirds (MFT) are established standards. The diagonal measure of a 4/3 sensor can vary but is typically around 22mm. Compare this to Mavic 2 Pro and Mavic Air 2S, which each have image sensors with diagonal measure around 16 mm.
- A larger sensor can allow for either more pixels or larger pixels. The Mavic 3 pixel resolution is not significantly different than Mavic 2 Pro. Likely the individual dot elements (pixels) are larger. Potentially that might translate to better ability to gather light, potentially reducing the signal-to-noise ratio. But that is theoretical. As the old saying goes, the proof is in the pudding.
Some online articles suggest that the larger image sensor “gives Mavic 3 higher resolution and dynamic range” but …. higher resolution is a dubious claim and higher dynamic range is theoretical.
DJI drones have historically employed Sony Exmore image sensors; DJI/Hasselblad cameras are no exception. I must guess that the Mavic 3 is using the Sony IMX472-AAJK, but I have not confirmed this. That sensor can capture all 20 megapixels at 120 frames-per-second. Notably, this sensor uses “stacked CMOS” technology and is the first ever stacked CMOS sensor in the 4/3 size. This sensor diagonally measures 21.77 mm.
The Mavic 3 user guide (available online) includes this disturbing note: “Before shooting important photos or videos, shoot a few images to test the camera is operating correctly.” I shudder to imagine what might have happened during initial product testing to warrant such a warning.
Pixel Resolution
If you want a final image to have3:2 aspect ratio, then any 3:4 image must be cropped and that includes Mavic 3. Technically, you end up with fewer pixels than Mavic 2 Pro and Mavic Air 2S.
Mavic Air 2S @ 3:2 aspect ……………… 5472×3648 = 19.9 million pixels
Mavic 2 @ 3:2 aspect ……………………… 5464×3640 = 19.88 million pixels
Mavic 2 @ 4:3 aspect (crop from 3:2)… 4852×3640
Mavic 2 @ 16:9 aspect (crop)…………… 5464×3070
Mavic 3 @ 4:3 aspect …………………….. 5280×3956 = 20.88 million pixels
Mavic 3 @ 3:2 aspect (crop from 4:3)… 5280×3520 = 18.58 million pixels
Mavic 3 @ 16:9 aspect (crop)…………….. 5280×2970
Color
Opening RAW images in Adobe lightroom, the color is a bit green. That’s correctable but really annoying; I’m guessing this problem is because Lightroom/Photoshop/CameraRAW do not yet include a camera profile for Mavic 3 (Hasselblad L2D-20c).
Looking at the JPEGs, the color looks good – not vibrant, but good.
Sharpness
Comparing images from Mavic 3 and Mavic 2 Pro, at aperture f\3.5 and f\4.0, the two are equally sharp at center of the lens. However, away from center, toward the edges of the image, Mavic 3 exhibits improved sharpness over Mavic 2 Pro.
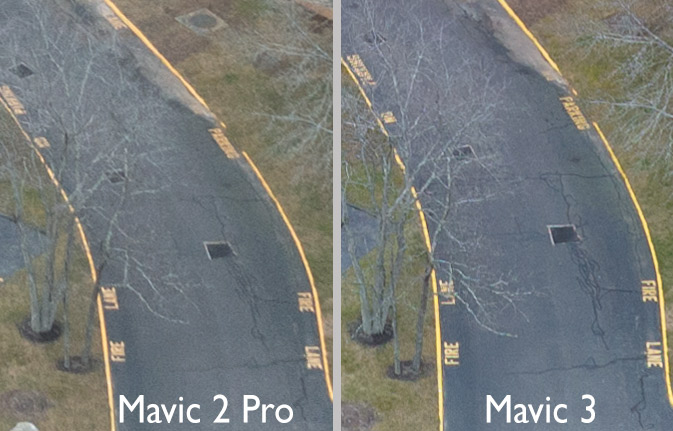
Image noise
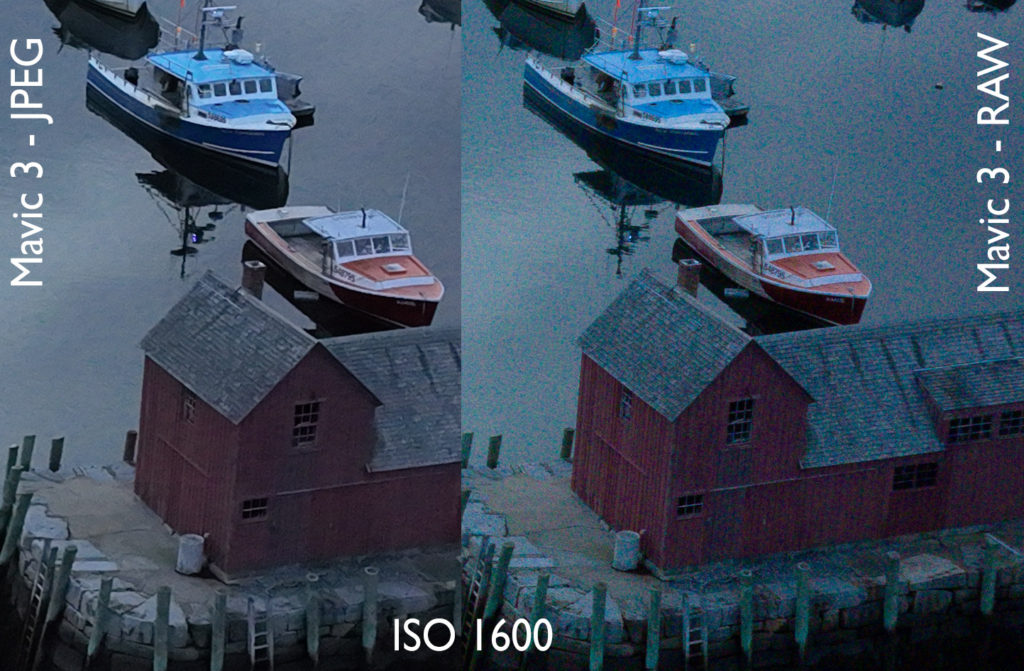
Considering all ISO 100 through 3200, Mavic 3 shows less luminance noise than Mavic 2 Pro. However, at any ISO, low light situations can result in considerable chroma noise in both shadows and midtones. It is worst at IS0 800, 1600, 3200. While it can usually be mitigated using noise-reduction in post-processing, the 4/3 image sensor should not exhibit this problem.
As the camera saves both RAW and JPEG, I looked at the JPEGs. Luminance noise is reasonably mitigated through ISO 1600; mitigation can be dicey at 3200. Chroma noise is essentially eliminated. However, not surprising, this noise reduction comes at a price – loss of sharpness.
Chromatic aberration
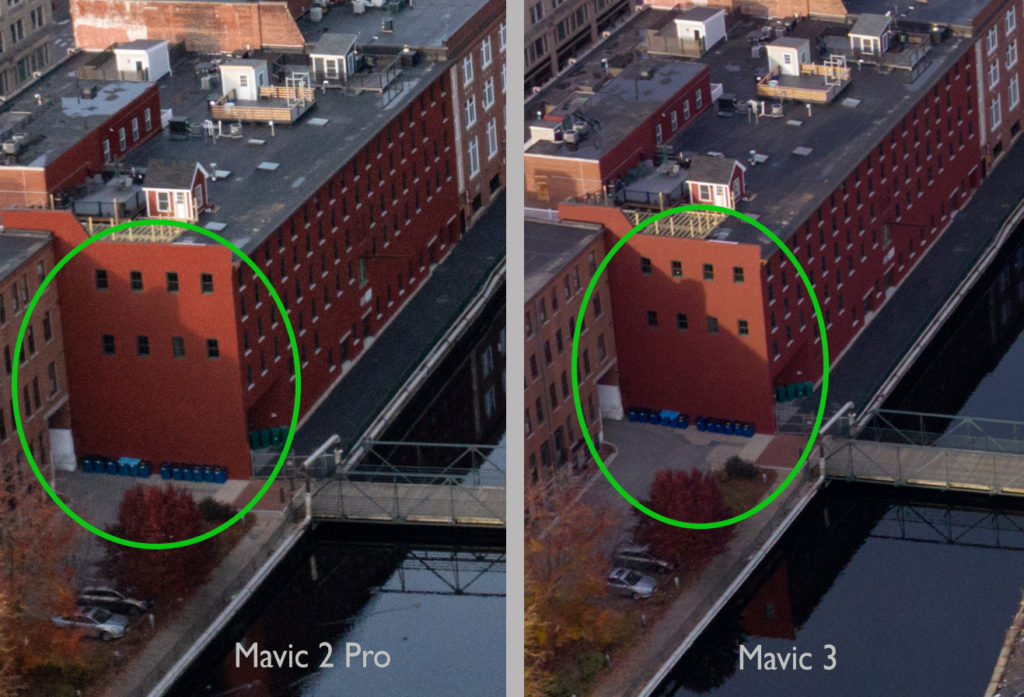
In some situations with high-contrast fine detail, Mavic 3 can suffer from chromatic aberration similar to the first-generation Mavic Pro. Although Mavic 2 Pro significantly reduced chromatic aberration, Mavic 3 is a step backward. This is observed with the clear DJI lens cover; I haven’t tried it yet with the naked lens.
Shadow detail
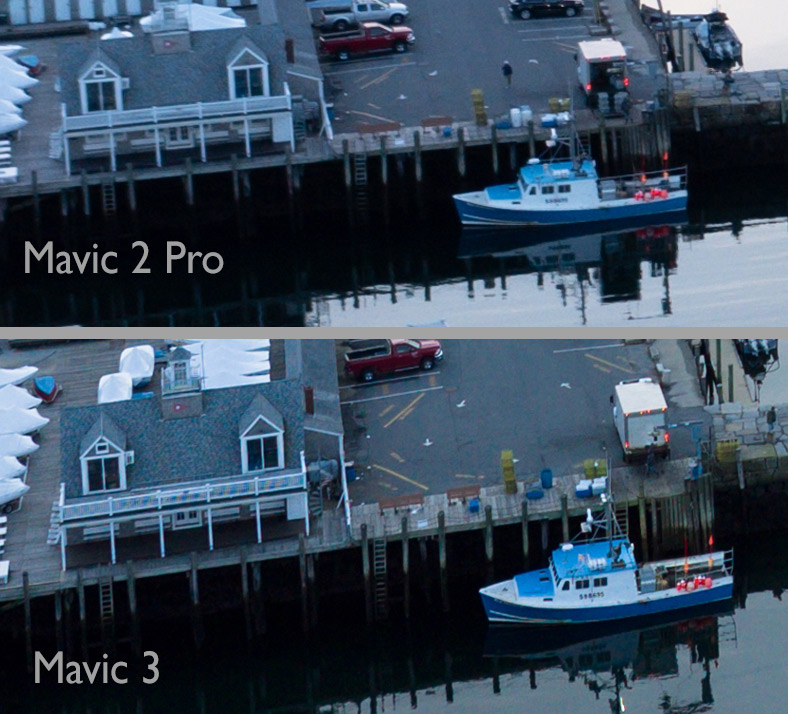
Considering detail in the darkest shadow areas, Mavic 3 has a slight advantage to reveal details that Mavic 2 Pro cannot. The difference is quite small.
DJI has stated that the Mavic 3 main camera has 12.8 stops of dynamic range, which is not significantly greater than Mavic Air 2S or Mavic 2 Pro.
Highlight detail
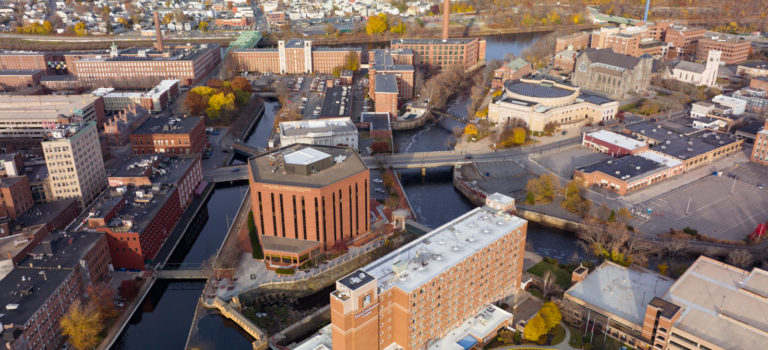
Both the original Mavic Pro and the successor Mavic 2 Pro often failed to resolve subtle detail in highlights. This commonly manifests in architectural details that are white,such as clapboard siding and trim mouldings. Mavic 3 does shows a slight improvement.
Images captured with Mavic 2 Pro – particularly images that include architecture – have commonly required a great deal of effort to safeguard highlight details. At the time of capture, exposure bracketing saves an additional exposure wherein the highlights are rendered with reduced brightness. In post-processing, that exposure is developed carefully and specifically for hightlight details. Then those highlights are manually blended into the other exposure. Only time will tell if Mavic 3 eliminates the need for that extra work.
Remote control
Apart from the camera itself, I must mention the remote control. With the Mavic 2 Pro, I have very commonly used the camera control dial under the right index finger. With Mavic 3, the RC-N1 remote controller has no such control dial; exposure settings can only be controlled via touch-screen. The expensive RC Pro controller includes a dial for right index finger, which I vaguely believe controls camera zoom and I do not know if it can be used for exposure purposes. I did not spend the extra $1000 to get an RC Pro.
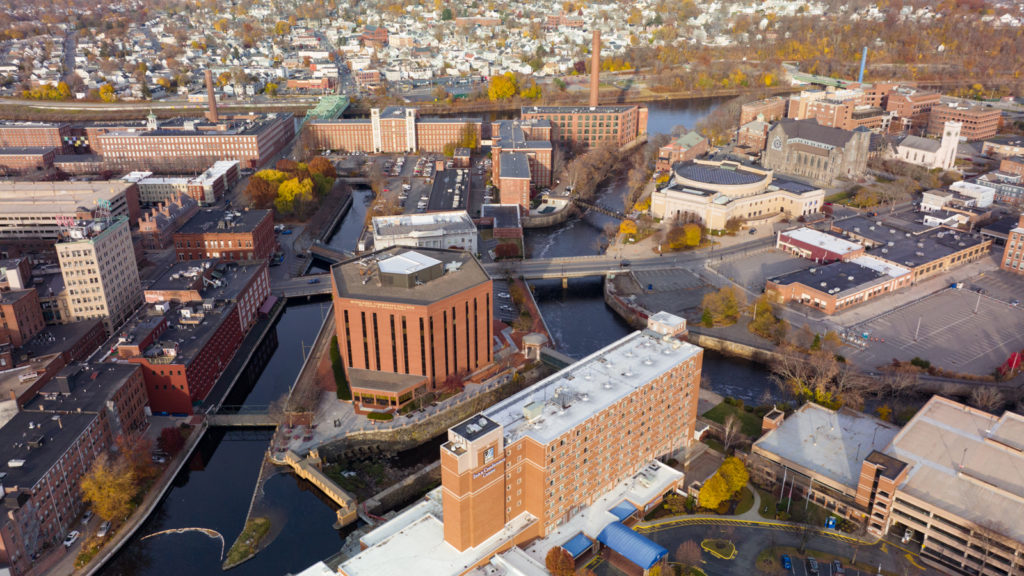
Here is my investigation of the Mavic 2 Pro, back when that was released in 2018: