In addition to visiting Gloucester this weekend, I also ported all my photography and tools to a new computer. As I imported new images from a camera drone, I took the new computer on a test drive to verify that my tools were all in good order.
This scene had both very bright highlights and very dark shadows; I doubted that a single exposure could contain both the highlights and shadows. As you likely know, such situations are known as high dynamic range (HDR). I captured a bracket of three exposures. In retrospect, it was a wise choice. The middle exposure was spot on, however the foreground was nearly black and some background highlights were blown out – white boats and white buildings. The darker exposure provided correction for the blown-out highlights. The lightest exposure was used to replace the black foreground water with dark-blue water.
Initially, I processed each of the three in Lightroom and then combined them together using Photoshop. From Lightroom, open the three images using “Edit In” -> “Open As Layers In Photoshop”. Once opened in Photoshop, select all three layers and choose “Edit” -> “Auto-Align layers”. Here, there are six Projection options; I chose “Reposition” because the three images were identical composition that varied only by exposure.
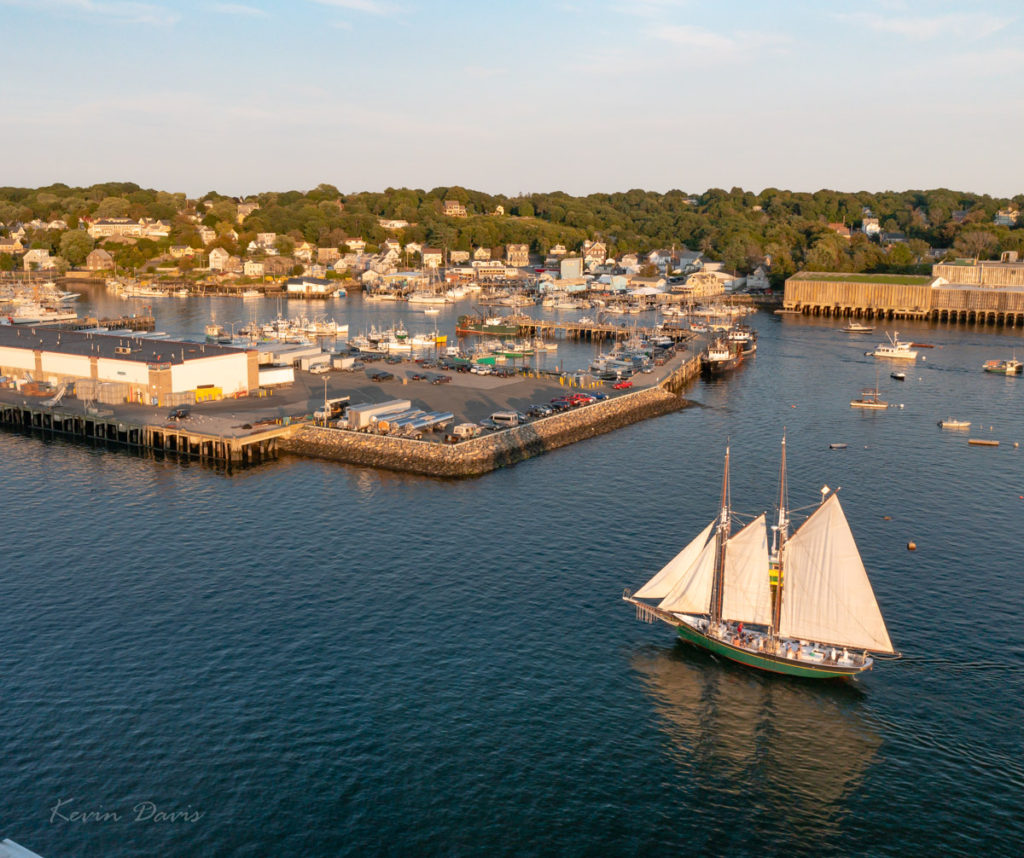
A selection of the highlights was applied as a layer mask on the darkest layer, such that only the highlights are used from that layer. A selection of the foreground dark water was applied as a layer mask to the brightest layer such that the foreground is lightened. The resulting image is shown here on the right.
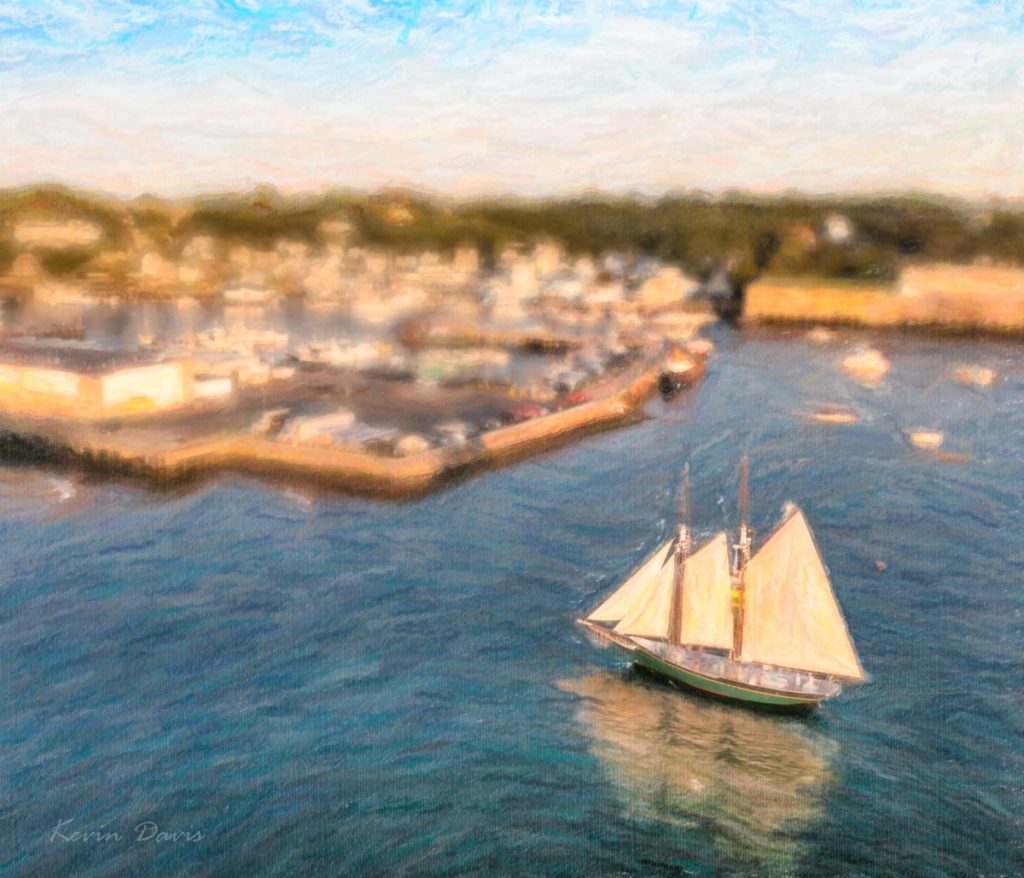
From there, I applied three image filters by Alien Skin. First was Bokeh, to blur the image – except for the schooner. Then I used two different variations of Snap-Art. All this was done through Photoshop. Upon saving all of this (TIFF file), I was back in Lightroom. Judicious use of brightness, clarity, and color saturation enhanced the simulated brush strokes. The end result is shown here on the left.