In 2011, wildlife photographer Jeff Wendoff told me that I must add wildlife to my photography portfolio. Got some tips on basic backyard bird photography from Jeff and photographer David Middleton. The wheels of my progress may move slowly, but they do move.
( Click on any image to see a larger view )
By end of 2011, I had prepared a place to hang bird feeders within clear view of my home windows and I hung my first bird feeder. Within two weeks, the birds began to find the new feeders. However, having created natural perches for the birds in precise locations where I wanted them to land, they were not perching here.
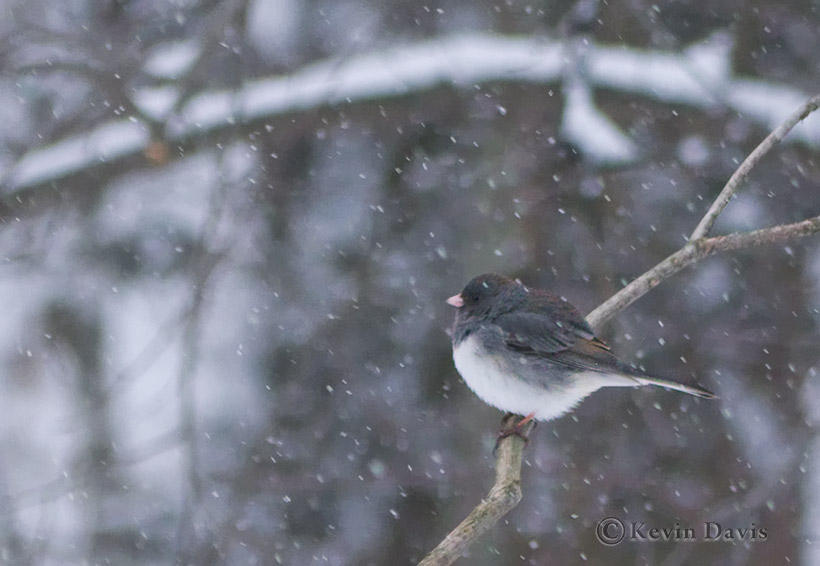
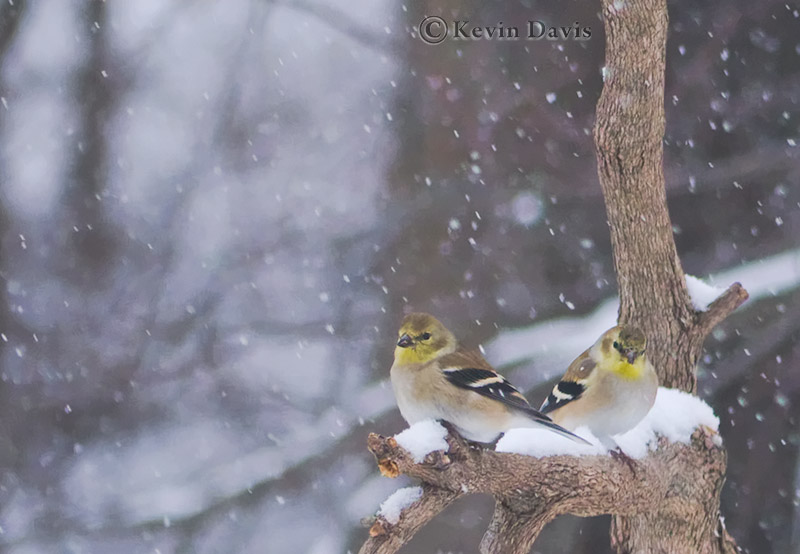
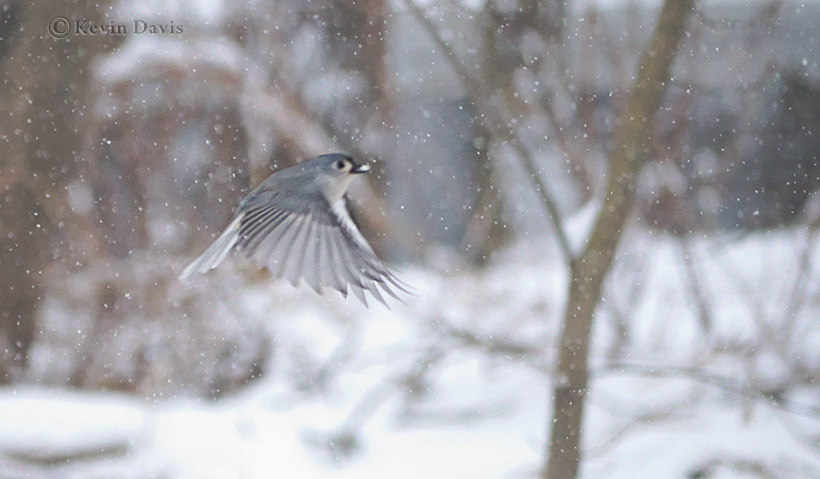
A few days ago, I saw the birds begin to perch in the places I had prepared. When I awoke this morning, there were many birds and they were perching in the right locations. So I photographed backyard birds for the first time. It just so happened that snow was falling, which added an extra special touch of beauty.
Sitting next to a window and photographing from the comfort of my home, these birds are perhaps 35-ft away. I found that my telephoto lens did not have quite enough reach. The birds appear quite small in the original images; so the photos attached here are cropped about 50% from original size.
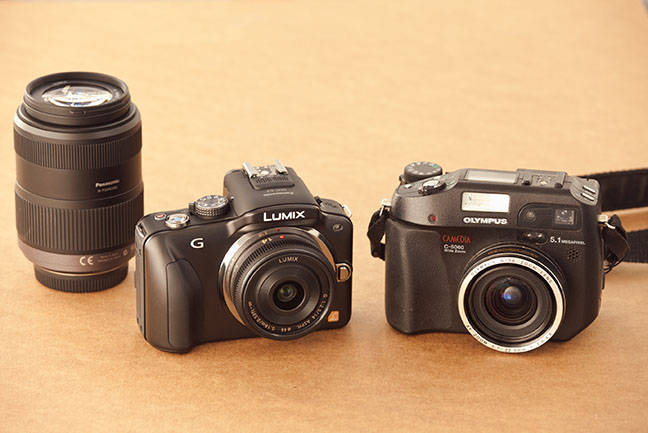
I used a class of camera known as Micro Four-Thirds (MFT) with a 45-200mm lens at maximum telephoto (200mm). If I had used my Full-Frame DSLR, I would have needed a 400mm lens to capture the same field of view. That’s because the image sensor on any MFT camera is 1/2 the size of Full-Frame (for you Nikonians out there, that means “FX” format). To get a tighter shot, I will need big glass.