For most of us, the need for an ultra-long lens is infrequent … but when you need it, you need it!
I’ve written about this before … Ultimate Lens for Sports & Wildlife … and … Novoflex SuperTelephoto.
One of those posts regarded the yet-to-be-available and much-to-be-desired Canon 200-400; that lens is now available.

This week, I have had two different needs for a long lens.
Photographing wildlife. I will be at a game ranch next week. I must choose and rent some long telephoto glass. (If this need arose more frequently, I would purchase/own it.) What lens choices available to me?
First, note that there is generally a trade-off between any fixed-focal-length lenses (non zoom) that have wide aperture (gathers more light) and zoom lenses, which provide variable focal length but sacrifice a bit with regard to aperture. I would love to have multiple long lenses at my disposal; but if I must choose one, then the flexibility of a zoom is the safe choice.
Zoom options. Top of the list is that new 200-400. Hands down, that is the lens I want to shoot with. The problem is the price tag; the rental fee is over $600 and purchase price is more than $10,000. This leaves me with a choice of the Canon 100-400 f/4.5-5.6L, Canon 100-300 f/4.5-5.6L, that same 100-300 plus a 1.4x teleconverter, or possibly a third party lens such as Sigma.
Multiple reviews across the internet all agree that the 100-300 is a superior lens compared to the 100-400. Unless you need the extra reach of 400mm. Apparently the 100-300 is not compatible with Canon teleconverters. So I chose the 100-400.
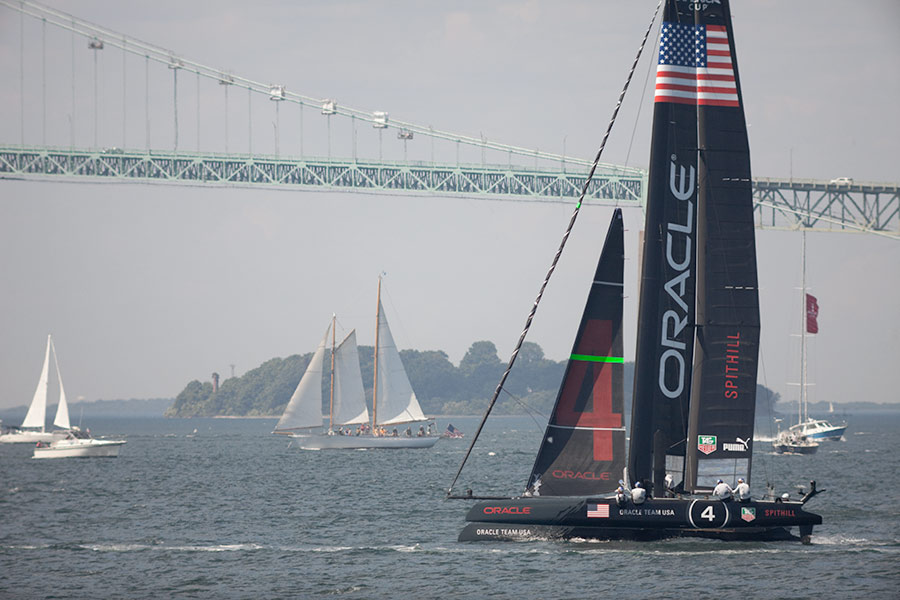
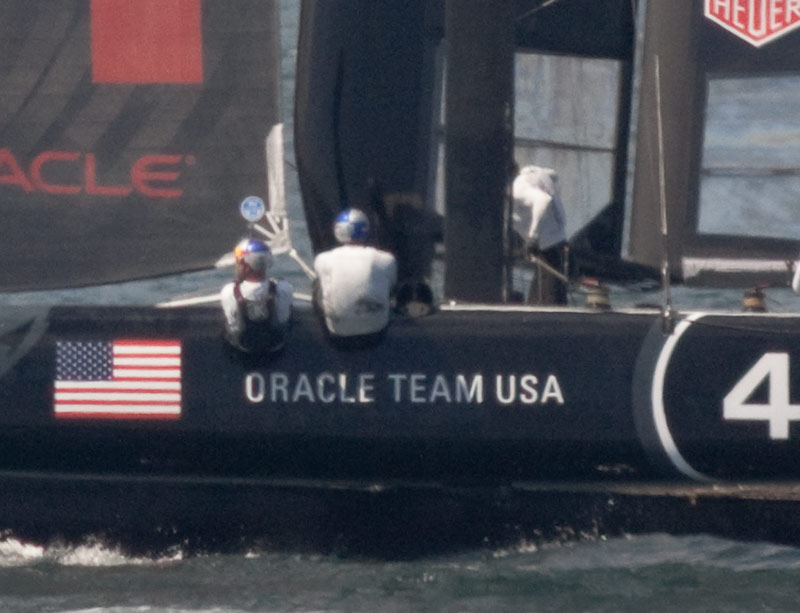
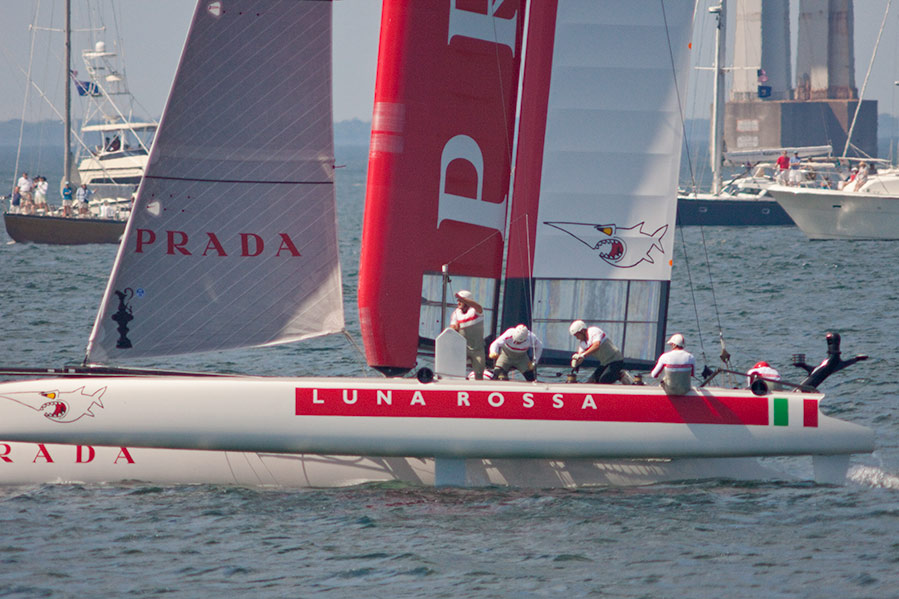
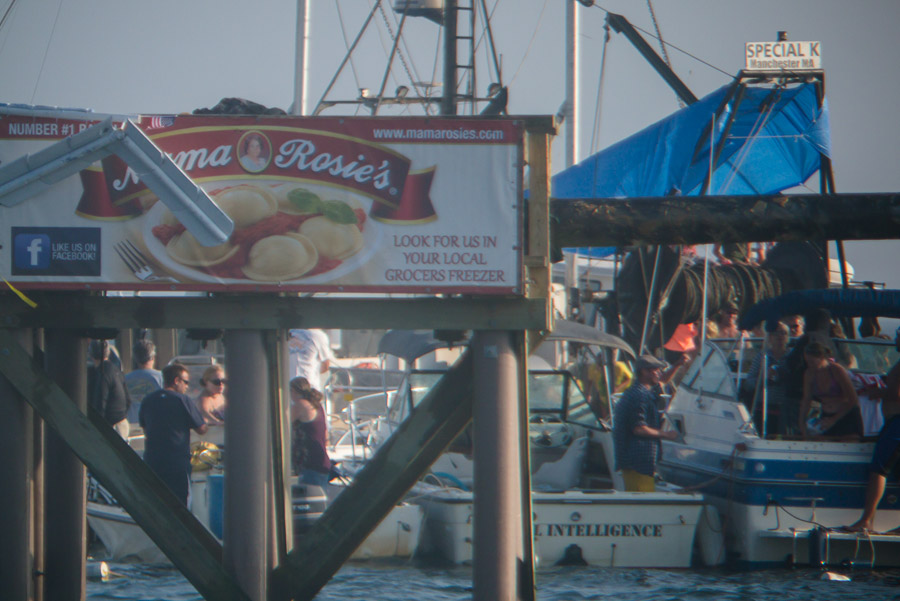
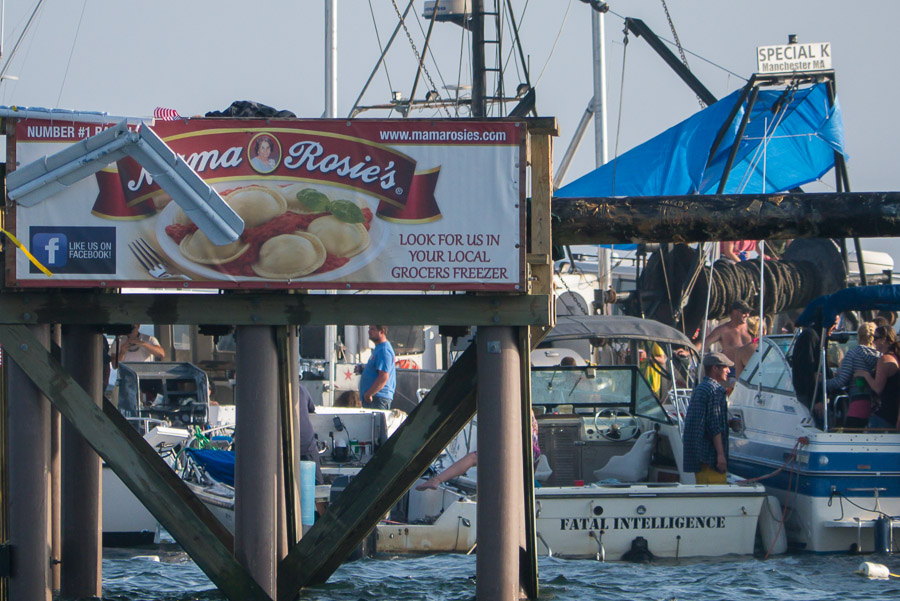
Photographing an ocean event from the shore. The event this week was the Greasy Pole challenge at the St. Peter’s Festival in Gloucester. For this event, I opted to test something new with a small camera, specifically, my micro four-thirds (MFT) camera, a Panasonic Lumix G3.
All micro four-thirds cameras use an image sensor that is the same size and is half the size of the sensor in my DSLR. A 200mm lens on the smaller camera is like putting a 200mm lens on the larger camera and then cropping the image to ½ size. It is called “crop factor”, but it implies that the smaller sensor size makes a 200mm lens seem like 400mm. Image quality of my MFT camera is very good, but significant image noise is present at ISO 800 (because the image sensor jams pixels into a much tighter space).
My zoom lens for MFT goes up to 200mm. For whatever reason, neither Olympus nor Panasonic offer a real teleconverter for MFT. So I tried a 1.7x teleconverter that threads on to the front of the lens. If we ignore the fact that the sensor is small, the result is akin to 1300mm. Or considering the small sensor size, it is like shooting a full-frame camera with a 680mm lens and then crop the image to one half size (you get fewer pixels, but it looks like zoom).
[Click on any of the included images to see a larger view.]
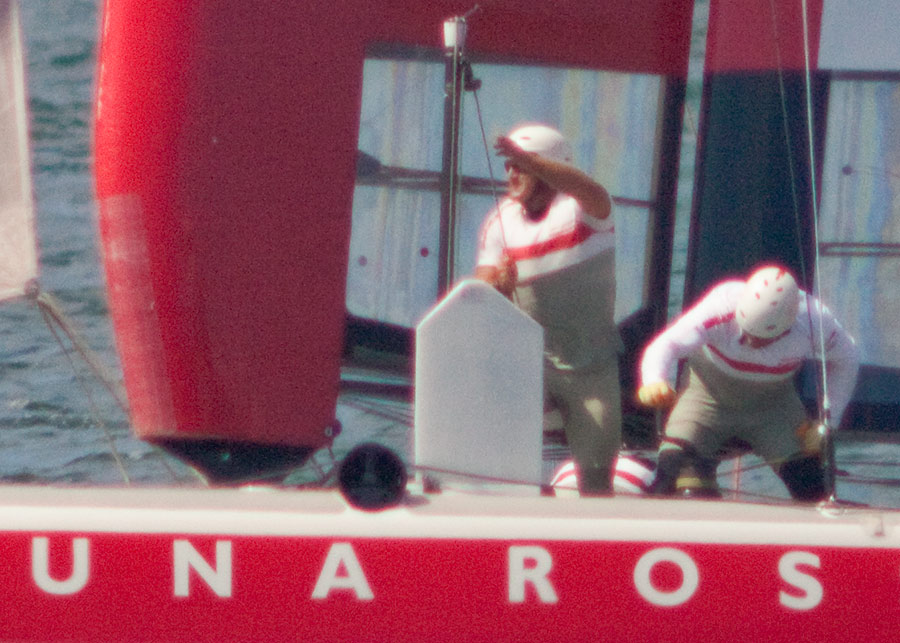
The sample images shown abive are (1) without the teleconverter and (2) with the teleconverter. The teleconverter is worse than I had hoped; it causes very significant loss of sharpness and contrast. Is this acceptable? No, not for me. But the teleconverter was a remnant piece of equipment (from a deceased video camcorder) that was collecting dust at home and cost me nothing to try it.
The last image shown here is shot without the teleconverter and then cropped to achieve the same perspective as though I had used the teleconverter. The result has far fewer pixels than originally captured by the camera. Using computer software, I then artificially increased the size of the image, to arrive at a 10-megapixel image with far better image quality than when shot with the teleconverter.
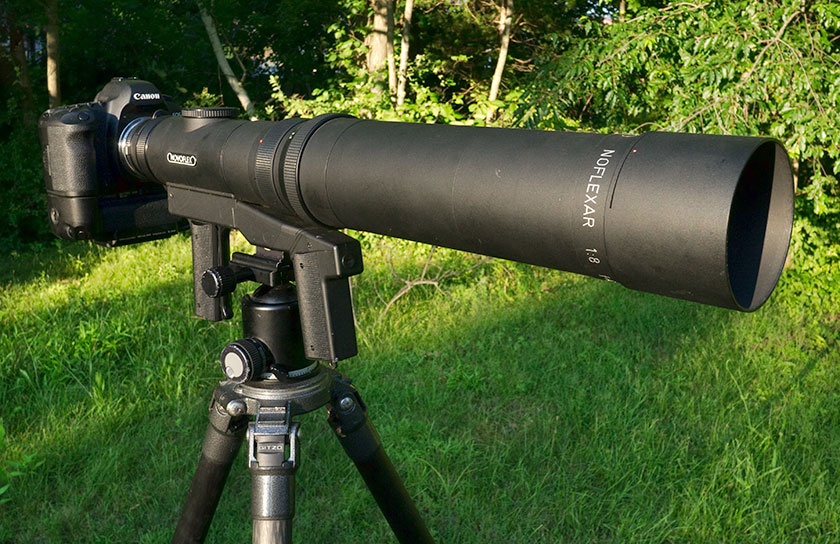
So, for situations like this one, where auto-focus is not particularly important, I come to the same conclusion as before. An old/used telephoto lens for any SLR, with an adapter to fit it onto a four-thirds or micro four-thirds camera.
And my best MFT solution that includes auto-focus, would be the Panasonic 100-300/4-5.6 Lumix G Vario (cost roughly $600).