Custom Photo Wallpaper

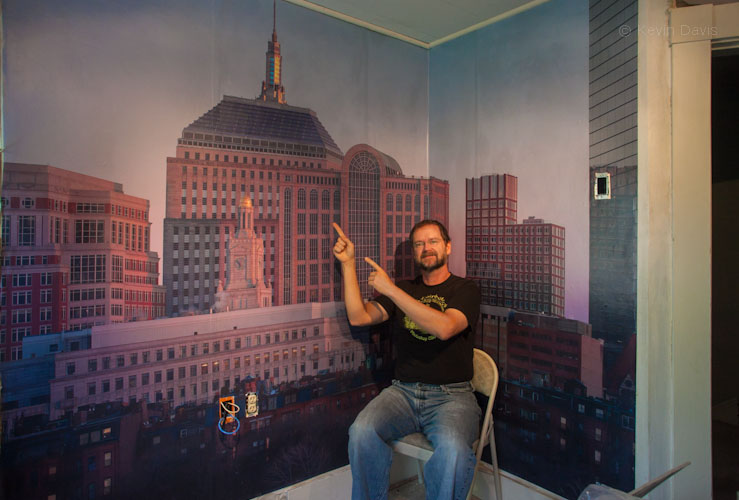
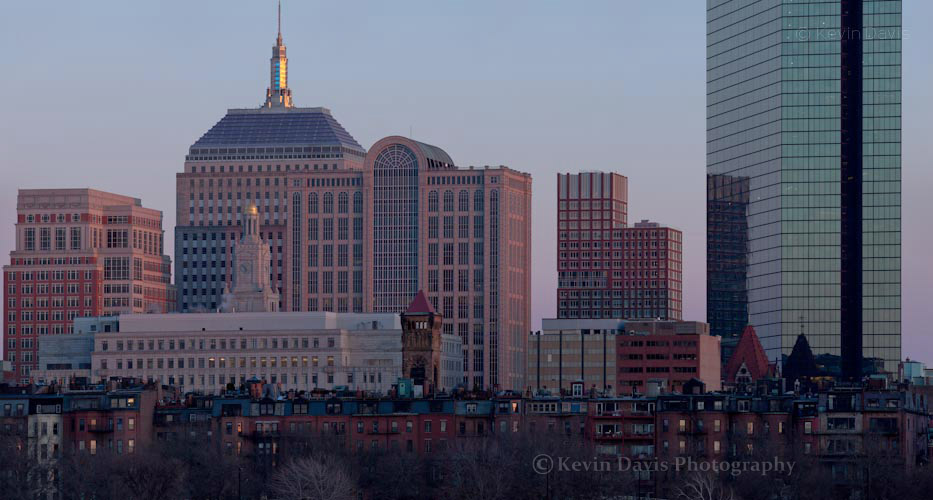
The image of the Boston skyline was created with a full-frame DSLR, a 400mm lens, and a tripod.  Twelve separate frames were stitched together (using Adobe Photoshop) into a single image.

The final result was a single image 16,000 x 8600 pixels (137 megapixels).   Cropping this to fit my wall, the JPEG that I submitted for wallpaper was 12,320 x 8726 pixels.  When printed to a size of 119.5” x 86.5”, that implies a resolution just above 100 dpi.  But the wallpaper vendor will interpolate this higher, to the native resolution of the printer.

The wallpaper

After a bit of research on the internet, I selected three possible vendors to print my wallpaper.  My first vendor choice ended in a confusing experience with their website.  I abandoned that vendor and then selected Blue River Digital (www.blueriverdigital.com).  BRD offers several substrate choices; the choice depends largely upon two factors, (1) exposure to direct sunlight and (2) longevity of the intended display.  I chose premium vinyl wallpaper and the cost was about $400.  (This was a year ago; today’s options and prices have surely changed.)  Depending upon the vendor and the material you choose, the cast generally ranges from $3 to $9 per square foot.

Sharpness, color, … the image quality of the final printed wallpaper is excellent.

In terms commonly used to describe photographic paper, this wallpaper has surface that is perhaps between matt and satin.  Side light from a window causes a glare on the surface of the wallpaper.

For my wallpaper, the side-to-side ordering was obvious.  However, depending upon the particular image, maybe with a repeating pattern, the sequence of the separate panels might not be obvious.  Because of this, Blue River Digital includes a number on the back side of each panel.

The installation

You can hire a professional wallpaper installer or do it yourself.  I have hung wallpaper myself on a few occasions (not recently), so opted to install the photo mural myself.  A professional could have installed it in far less time than I … and with less cursing.  (To install any wallpaper yourself and avoid the cursing, it’s a good idea to have help from a second person.)

As with any wallpaper installation, the wall does need to be properly prepared before installing the wallpaper.

After applying paste the back of a panel, the panel is folded in half and allowed to sit for a bit.  (This is called Booking and is standard practice for wallpaper.)  Blue River Digital provides a list of name brand wallpaper pastes that they have actually tested.  I took that list to my local hardware store and found that they did carry one of those paste products.  My local big-box home improvement warehouse stocked only a generic brand; I expect that would suffice, but I chose to use a paste that was Blue-River-tested.

My print consists of four panels, each 30” wide.  At the edge of a panel, the image on a panel overlaps with the image on the adjacent panel, by about one inch.  So, when applying each panel to the wall, the panels overlap by one inch.

Because my particular image has some strong vertical and horizontal lines, I was very particular about getting that first piece level and plumb.  I removed that first panel from the wall and re-applied it probably three times before I was satisfied.  Then I applied the remaining panels, which were easier to install than the first, but still can be difficult to get the two panels exactly aligned.
Pixel RW-221 wireless remote camera trigger

Some situations require remotely triggering a camera.  The RW-221 is an inexpensive remote trigger.  It looks well made and worked well in my initial testing, however … the first time I ever used the RW-221 for a real shoot, it broke.

There was a dense crowd of people in Boston that day and someone tried to squeeze between me and the shrubbery … I lost balance and pushed hard on the button of the RW-221.  The button slid into the plastic case such that it could not pop-up (the normal un-pressed state).  I was on location and had no backup for this tool.

Upon taking it apart, I found that the plastic button is supported by a very small plastic pin, which easily snapped under pressure.   Although I repaired it with a bit of glue, I have to conclude the following:
1) due to a design flaw, the RW-221 is not robust/reliable; be gentle.
2) always have a backup for your equipment
2) anyone who has this device or is purchasing it new, take it apart and re-inforce the pin with a bit of epoxy


Essential Photo Gear

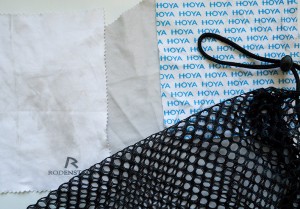
Among my photo equipment, perhaps the most critical accessory is also the simplest …  something to clean lenses and filters.  For this purpose, the microfiber cloth is the preferred tool. 

Microfiber cleaning cloth for optical usage (cameras, eyeglasses, electronic display screens, etc) have become ubiquitous. Lint-less, will not scratch, washable, and reusable. Technically, the term “microfiber” simply means the fabric is woven from thread having a diameter smaller than 1 denier, smaller than silk thread.  (Different brands may use different size threads.)


Microfiber cleaning cloths are availabe in patterns, colors, and even with detailed images on the cloth. You can get your own image custom printed onto the cloth.

Tip#1 – Use plain white.  It shows dirt and you will visibly see when it needs to be cleaned.  Anything other than white will obscure dirt.

Tip#2 – Select a cloth that has no hems or tags.  Potentially dirt can get trapped in the stitching.

Tip#3 – Hand wash.  You can try machine washing, just place the cloth in a lingerie bag so it does not get sucked down the drain.  However, my experience is that this does not do a very good job.  Hand wash with a light detergent such as Woolite.  Rinse multple times to ensure all detergent is removed.

Tip#4 – Have more than one available in your photo bag.  They are small and inexpensive.  If one cloth seems dirty, maybe not cleaning well, you will have another available as back-up.


Wildflowers in the White Mountains

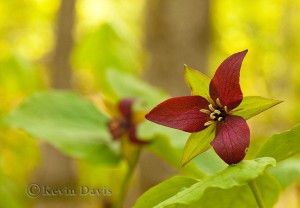
Purple Trillium, Painted Trillium, and Trout Lilly are just a few of the wildflowers in bloom in the White Mountains of NH this weekend. 

Purple Trillium is tricky to photograph because it has a nodding presentation (the flower faces downward).  In the first photo here, I propped up the one flower with a stick (just a couple inches) so that it was not nodding.   I love the soft background in this image; there is a strong sense of location yet without sharp details. (f\10 @ 1/50 sec)

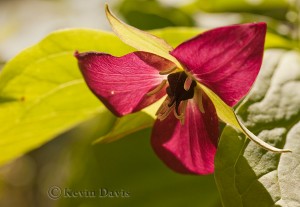
In the second image (with the sun shining through it), the flower was on a slight rise and I shot up at it as I lay flat out on forest floor.  Sometimes you have to get dirty.
(f\7 @ 1/250 sec)

In both cases here I used a reflector to kick a bit of light up into the face of the flower.  This helps the first image simply because the flower is much darker than the background. In general, this is not true in the second image, but it does help specific areas that are dark (for example the center of the flower).

Click on either image to see a larger view.


Smoky Mountain Sunset

In Tennesee, anybody can enjoy Great Smoky Mountain National Park at no cost.  There are no entrance fees and no parking fees.  Apparrently this was part of the deal when the land was acquired (from native American Indians).  And you can simply drive to the top of Clingman’s Dome.

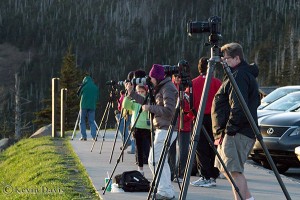
Any evening on Clingman’s Dome, there can be a bevy of photographers lined up to photograph sunset. (Probably sunrise too, but I have not witnessed that.)
But as most photographers point their cameras toward the sun, they may miss out on some of the best scenes … which do not directly include the sun.

This image was shot with a micro-four-thirds camera (Panasonic Lumix G3) and captured as RAW.  While JPEG images have already been processed (by the camera), RAW images receive no processing.  In my experience, RAW images tend to look flat and require some post-processing (by me).  While this scene appeared well to my human eyes, the camera capture was very low contrast.  So the significant post-processing was to increase the contrast.


Great Smokey Mountains

At a campground inside the Smokey Mountain National Park, there is no wi-fi or internet of any sort, no cell-phone service, and no 120v electric to plug-in anything.  So, at some point, I had to leave the park in order charge batteries, check email … and clean up with a warm shower.  (Actually, I did find one valid 120v electric socket hidden near the vending machines.)

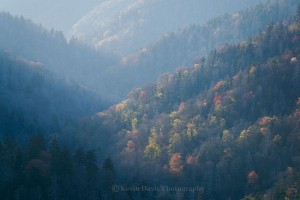
A couple photos attached here from this morning.  As shown here, this is how the Smokies got the name.

Each morning, the weather is unpredictable.  Rain during the night usually means clouds in the morning, but these can clear out rapidly.  This morning, the clouds did not clear out; but where the light is not putting on a show, the clouds sometimes do put on a show of their own.


(Click on an image for a larger view.) 


Photography base camp on wheels

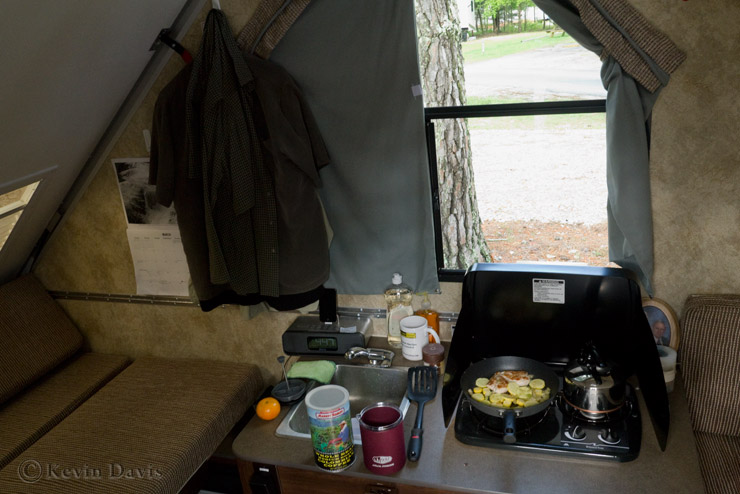
 A photographer has to travel.  Staying in hotels can be expensive.  So here is my alternative, a camper.

Famously, outdoor photographer John Shaw has said that a nature photographer’s idea of a six course meal is five granola bars and an apple.  That’s because a nature photographer has to be out in the field when most people are back at the lodge eating breakfast or eating dinner.  But this pace cannot be maintained every day.  Today I was post-processing images from yesterday and doing laundry.  So I had the luxury of cooking dinner.


Cherry Blossoms in Washington D.C.

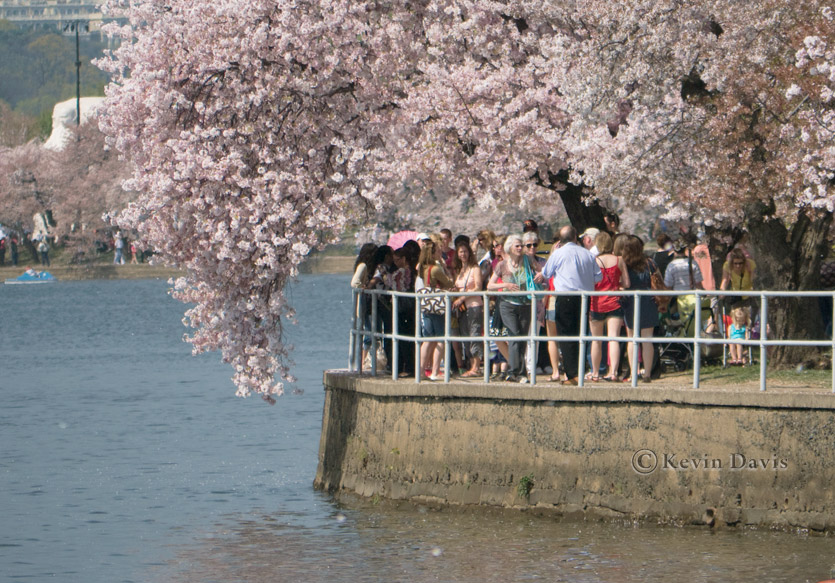
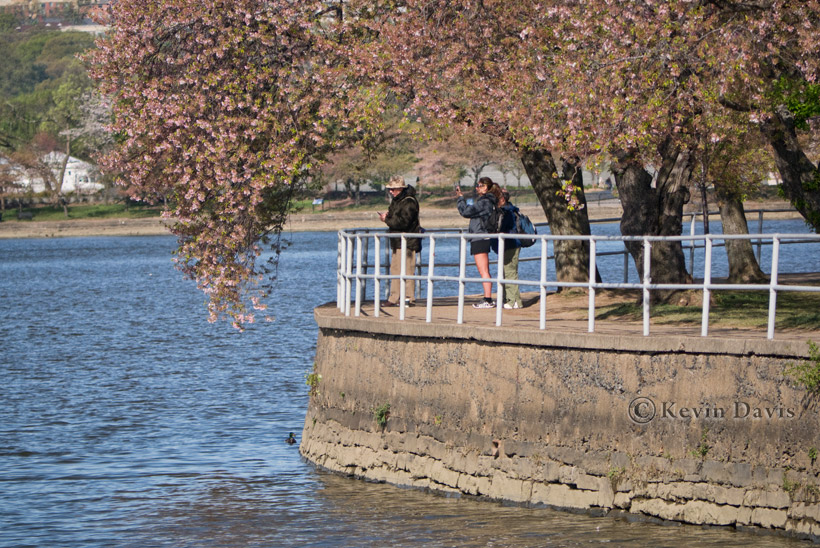
2012 is the 100th anniversary of a gift.  The Mayor of Tokyo Japan gave 3000 cherry trees to the people of Washingington DC. That’s a lot of trees. And as they bloom (all at the same time), that’s a riot of pink color that draws a pretty big crowd. But this year, if you did not come to this party early, you missed most of the show.

Normally, the magnificent flowers of these cherry trees begin to bloom around March 24 and peak during first week of April.  This year, the warm weather in March caused the trees to bloom far earlier.  And the show was over on March 25.

The first photo here is from March 23.  The second was shot this morning, March 27.  You can see what happened due to rain and wind over the weekend.

The crowd of people on Friday was crazy.  Almost like the Esplanade in Boston on the Fourth of July (almost). 

Not all is lost.   These cherry trees here are the famoush Yoshino cherry trees.  But there are a few other species that are still blooming nicely, for example the Kwanzan cherry trees are stunning (though there are not nearly as many).  The area around the Jefferson Memorial is quite nice.  And D.C. is looking quite green these days as deciduous trees are beginning to leaf out.

Wildflower Book Project

Last year, I shared the beginnings of a project with you,  a book documenting the wilflowers that grow at a local buisiness park.  Since I there is not much opportunity to create new wildflower images between November and March, I had planned to begin the book layout in December.  Now February, I am finally piecing together the book layout.

In the past, I have used book layout software provided by the book printer (Mpix, Blurb, PhotoBook America).  This time, I am using Adobe InDesign.  This being the first project of any significant size for which I have used InDesign, I have found that the learning curve was not particularly difficult.  I quite like InDesign.

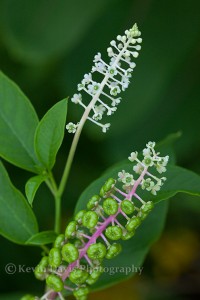
Pokeweed

Here are a couple images that I am including in the book.

The first is a relatively common weed, but I find it very interesting because it looks like small green peppers.  I really like this image because it shows two slightly different stages and because the background is very soft, not distracting from the foregound subject.

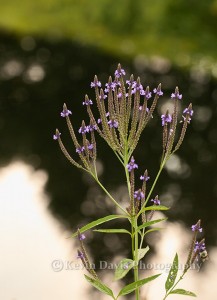
Common Verbena
 
Click on either image for a larger view.


The second image is Common Verbena (which is not particularly common in my experience).  The flowers begin at the bottom of the flower spike and progressively bloom toward the top of the flower spike.  I really like this image because of the somewhat unusual background, which I think is not readily obvious.  There is a pool of water, with trees reflecting in it, and a grassy embankment.


River Reflection

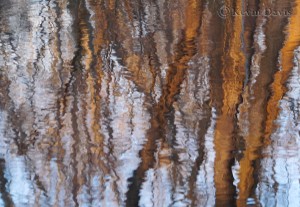
When snow covers the landscape like a white crystal blanket, it is an undeniable visual transformation.  But when the deciduous forests are not blanketed in white, they are dominated by greys and faded browns; it can be photgraphically challenging.

Lumix G3 - ISO 400 - f 7.1

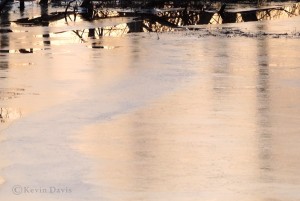
The warm light of sunrise and sunset adds a burst of color to an otherwise bleak pallette.  And reflections in the river add an ever-changing texture that is unpredictable and full of surprises.

Somedays, I happen by the river and see something interesting.  On other days, I anticipate a visual image, with the sun low on the horizon or the changes in the ice.

Lumix G3 - ISO 1600 - f 7.1
 
.
 
(Click on either image for a larger view.)