 If you have a personal checking account, you can have your own photographs printed as custom backgrounds on your checks.
While some of my bills are payed automatically, either through my bank or credit card, I do still write checks for some things. Upon discovering that I only had one blank check remaining, I was about to order more through regular channels, but the price seemed a bit high. Searcing on-line, I found that other providers will print blank checks for far less money and you can order checks direct through their web sites.
Some companies allow you to upload your own photographs to be printed as the background image on your checks. Caution – some of those providers do not include security features, such as microprinting of the signature line. I found two providers that offer custom photo checks with security features, then researched them on-line to find positive/negative reviews. I selected one of these providers and then searched on-line for freely available discount codes. I found a discount code that saved me $3 per box of checks.
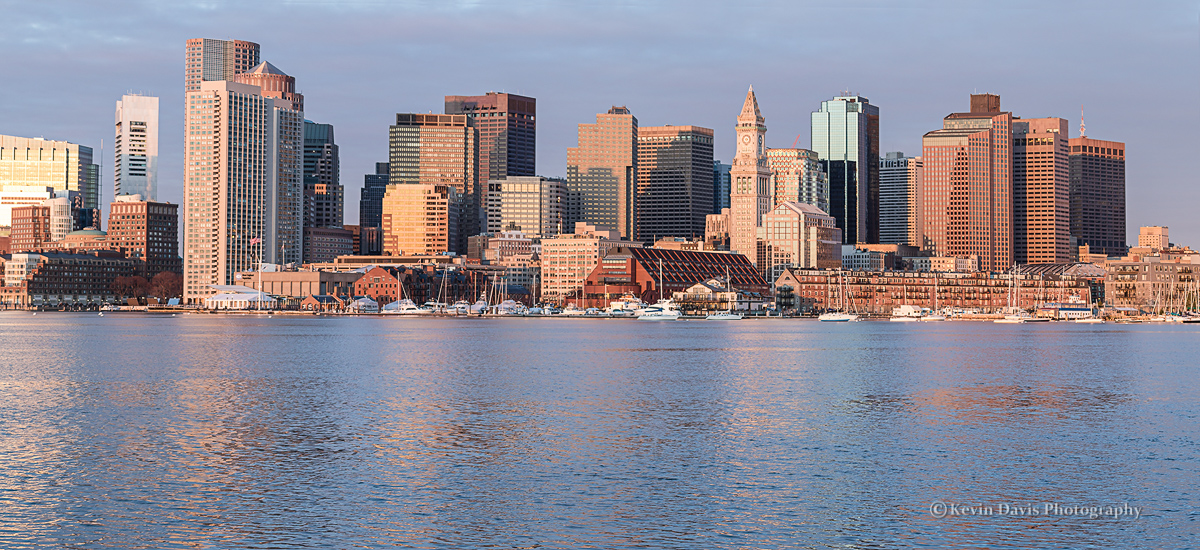
The photo I selected from my own catalog is shown here, an image of the Boston skyline.
Unfortunately, no guidelines were given how to size my photo appropriately. The web site did list specific file types that were acceptable and a maximum file size of 5MB.
Measure the height and width of your old checks. Then re-size your digital image accordingly. Personal checks (in the USA) are typically 6″ x 2.75″. I re-sized my photograph to slightly larger than 6″, thinking that the images are typically over-printed and then the paper is cut to a slightly reduced size. Set the print resolution to 300 dpi. Save the file as JPEG. Upload this file when the check-ordering web site prompts you to do so.
Choose a brighter image rather than a darker image. Text that is printed on the check will be difficult to see if the background image is too dark. The web site should show you a preview of the check with your photo and text. Upon seeing my check preview, I deleted the photo (the original shown here in this post), edited the photo to make it lighter, then uploaded the modified version.
To lighten a photo, raise the black point, which causes black to be rendered as grey instead of black. For example, in Photoshop, use either curves or levels. In Lightroom, in the Develop Module, use the Tone Curve. Simply drag the left-most point of the curve upward until it looks right to you.